Like a marathon runner with just the last few miles to go, I am thinking ‘Is this nearly it, do I have the energy to reach the finish line, should I sprint now or keep going steady?’
A curious aspect of this project is how I keep getting surprised when I finish a section. It is as if I have been so intent on the details that I just don’t see it coming. The work slides into a different phase, and I am almost unaware until I take a step back and look at the whole job. Suddenly I realise that there are only a small number of big parts still to construct – the front walkway, the engine pods and the daggerboards. The hulls are almost completely done, I am doing smaller stuff like gunwales and toerails and starting to consider how to install the portlights and hatches. We are into the finishing phase for the hulls.
Spring has sprung in the last week, the epoxy flows freely again and sets off satisfyingly quick and hard in the warmth of the sunshine. The winter months have been a slog – wet, depressing and slow – but I have kept going, even when I would have much preferred to go home for tea and crumpets and forget the whole damn thing for a couple of months. What has kept me at it has been the determination to try to get the boat launched this year.
Beer and sandpaper
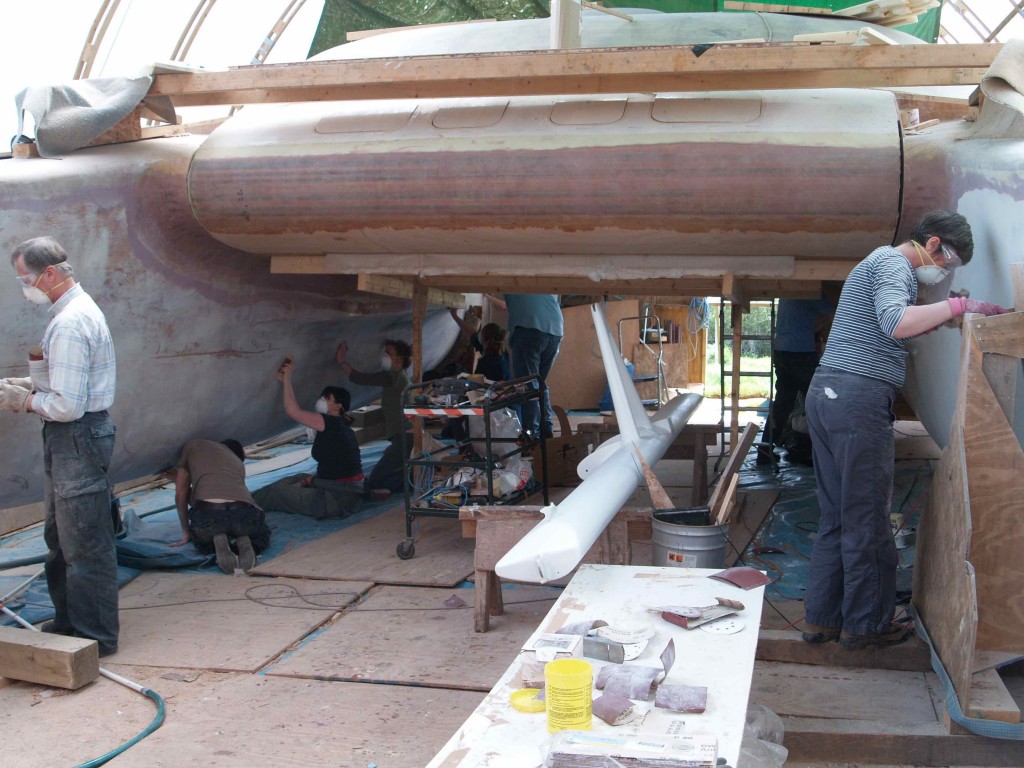
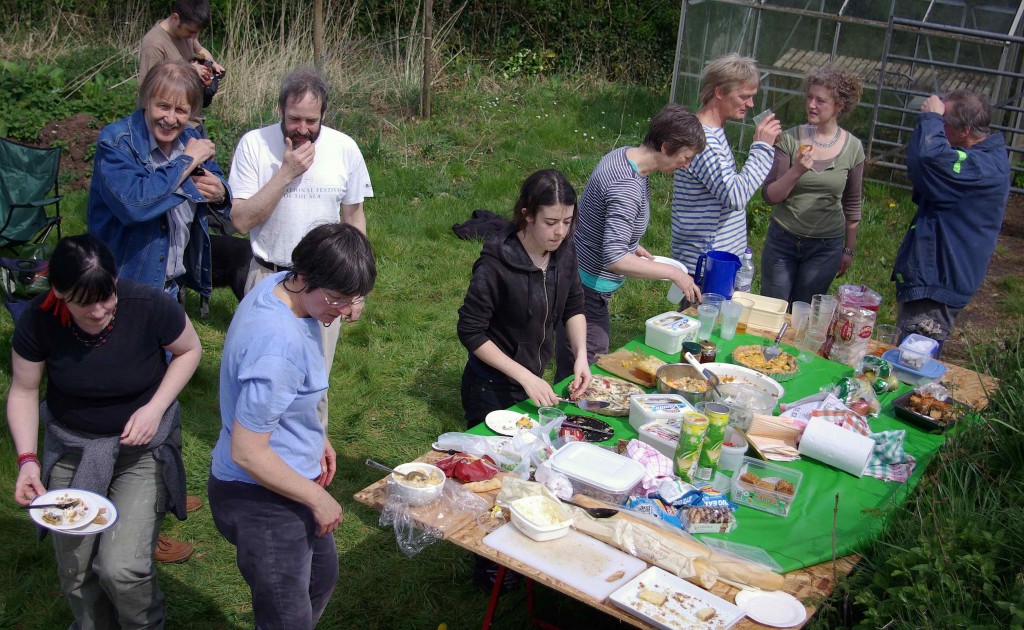
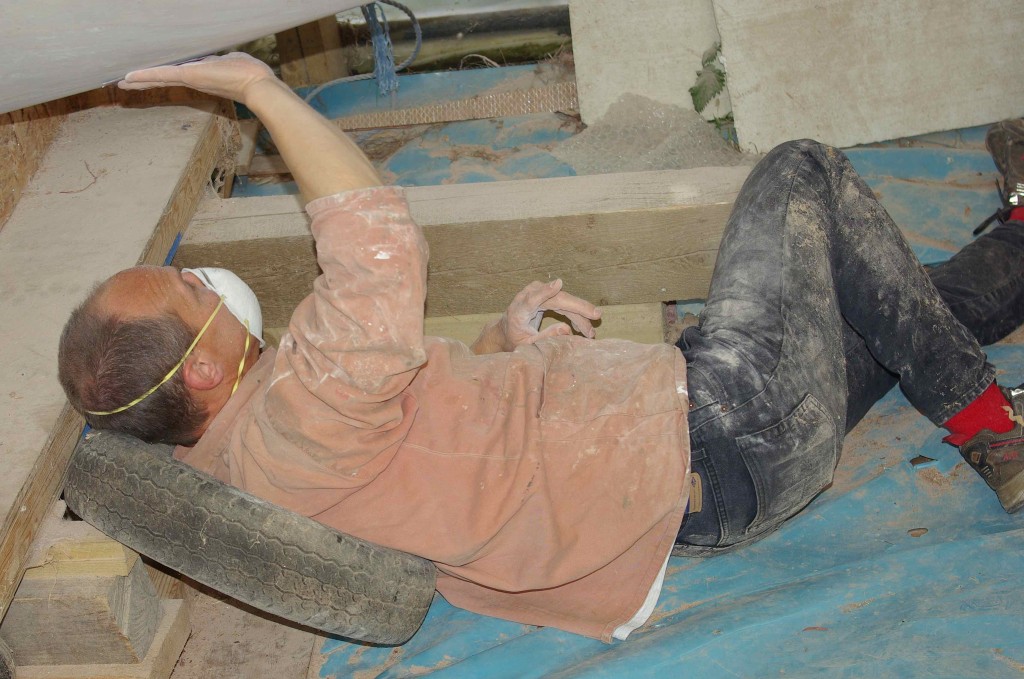
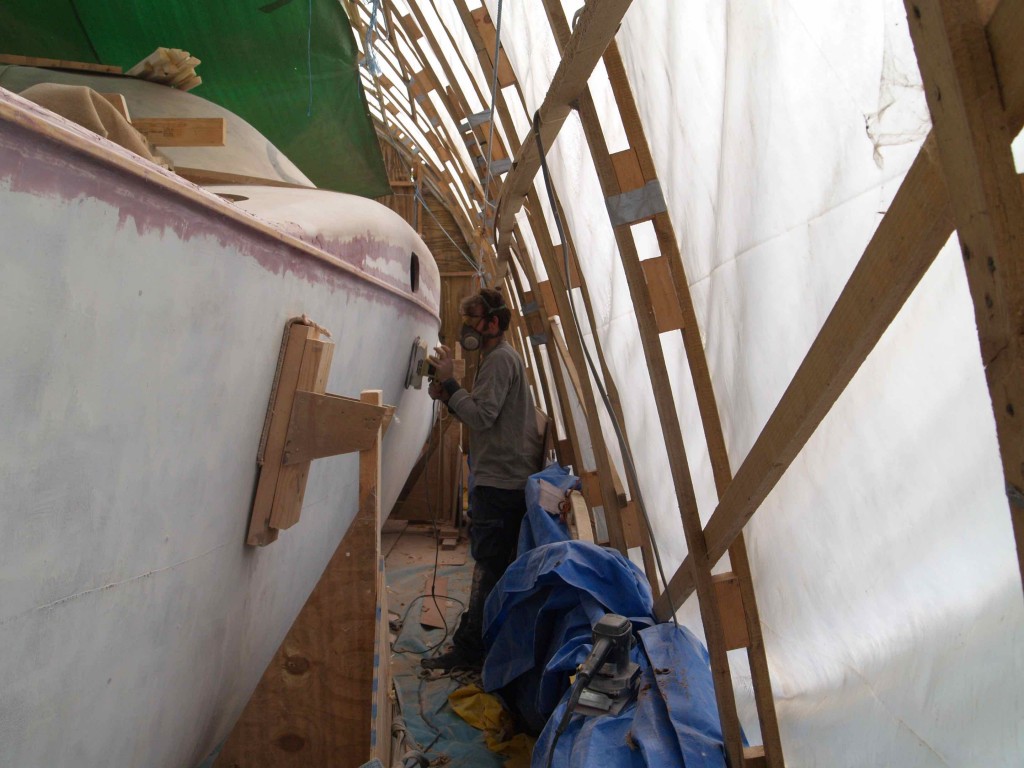
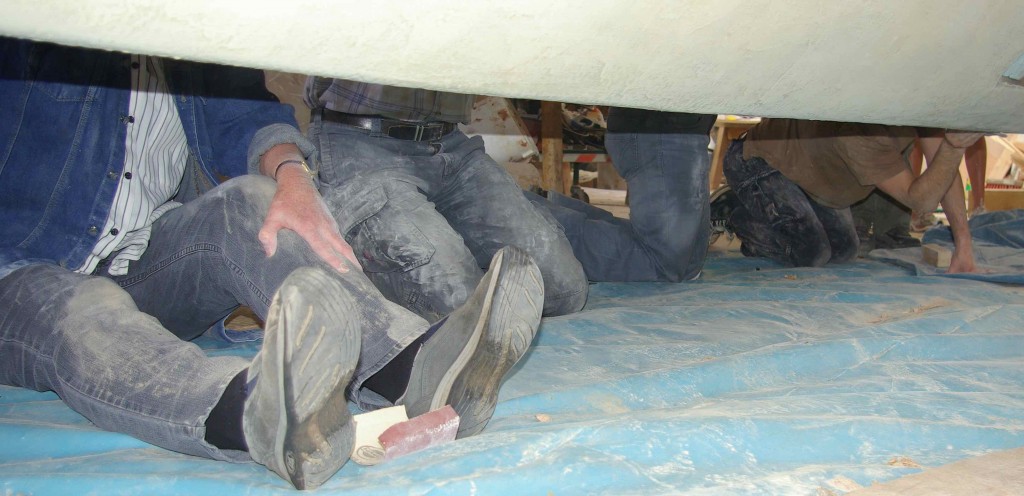
Last winter I was contemplating the prospect of long weeks of sanding to get the hulls smooth and mentioned how little I was looking forward to it to a friend. She came up with the inspired idea of a “sanding party”! This is brazen exploitation of one’s friends and neighbours thinly disguised as a picnic. I got in a cask of good Cornish ale, appropriately called ‘Proper Job’! Fortunately the weather was good for the event, and the 20 or so people (between the ages of 7 and 80) rose magnificently to the challenge to sand the boat in a day.
If one ever wanted to lift the spirits and feel that the boat was well on its way to completion, this has to be the answer. There is something about building a boat, perhaps the romance of it all, that seems to evoke curiosity and a willingness to help. The notion of lending a hand is alive and well in our village, and there was true delight in the collective achievement. Buzzing and scraping could be heard well down the lane. The normal tedium of sanding was forgotten in the general enthusiasm and about 80% of the boat was done even before the picnic lunch. By the end of the day (not much later than 3pm) much more had been sanded than I had ever dared to hope. It was a great way to celebrate moving the project into a new phase, buoyed up by so much goodwill. I made a speech and expressed the thought that everyone who works on such a project leaves a little of themselves in it; I hope to welcome them all on board eventually to enjoy the fruits of our labour.
Doing the details
In the meantime I have been getting on with ensuring that details are right. The gunwales will be a PVC extrusion, but I did not want to fix that directly to the hull skin, because it would be a potential source of water ingress. So a 20mm section of softwood (scrap from the mast mould) was glued and then glassed into place. The gunwale rubber will be screwed into this, so preserving the integrity of the hull. The gunwale makes a satisfying sweep along the side of the hull and also disguises the angle between the hull topsides and the superstructure. At the stern the gunwale will curve down and end just before the transom.
Constructing the decks right aft brought me back to a little problem that I only discovered when it was too late to change it. Way back during the hull folding-up process the sterns had been cut back to their lines but not backed up with any substantial timber inwales. This was partly laziness – I didn’t want to spend time laminating timbers that appeared not to be necessary, so I relied on the balsa and glass to stiffen the shape. It was not enough, and there is a distinct ‘waist’ to the shape at the sterns. Fortunately this is the same on both sides. I suppose it is the result of the tensions in the original ply. To correct it now would mean adding about 30mm of foam to the outside of the hulls, not really worth the bother or the added weight. Actually, the more I look at it, the more it seems like an attractive oddity. That’s one-offs for you! I might be able to minimise the waisted appearance with a little cheating of the gunwale as it comes aft, by adding some extra to the glassed-on softwood, but otherwise we’ll have to live with it.
Compounding the ply
The other thing I learned with the aft decks was about compounding 3mm ply. With extreme torturing (it certainly looks painful!) there is a tendency for the wood to ripple where it is compressed, and it was difficult controlling it. A frame is really necessary, rather than the couple of temporary bulkheads I used, so that the centre sections of the ply don’t flatten out. I realised this too late for the port hull, so the shoring up inside to push out the bulges looked like something they would have been proud of in ‘The Great Escape’! At the front edge I screwed a 9mm ply strap at 50mm centres right across the width to force it down. In the end there were a couple of bumps and hollows, but they were taken out with a little fairing inside and by sanding down the balsa core outside. It is such a great method of constructing decks, giving a wood finish below, good insulation, a solid feel to the deck and a tough (1500 gsm) glass exterior.
Of course the important thing about balsa core is to be sure to excavate the balsa wherever a hole is made for hardware, hatches, windows etc. and seal it thoroughly with epoxy bog. There are too many stories of boats with decks that have rotted out to a black sludge for me to be anything less than meticulous over this. I bought a 12mm bearing-guided router cutter which made quick work around the portlights. A little Dremel tool took out the last remains. The groove is about 10mm deep and is then filled and faired.
Toerails were the next item. I have constructed these with a foam core, easily sanded into shape. The scupper holes are larger than the usual, so they could be used as handholds for climbing aboard and for hanging fenders. I have glassed the undersides of the cut-out before attaching the rails to the boat as they will be impossible to reach afterwards. For strength some uni glass will run along the top of the rail, and biaxial will be taken down each side onto the deck. They have not yet been attached because the chainplate glassing has to go underneath.
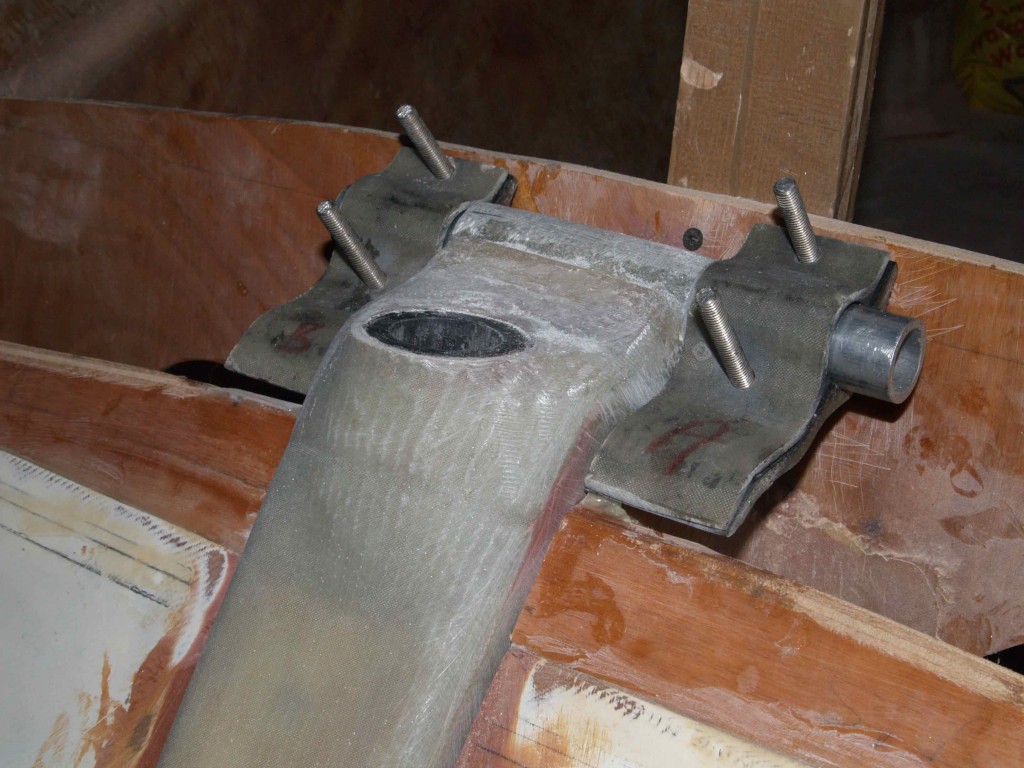
Rudder cassettes have been a difficult section to get right. They hinge up from a slot in the stern of each hull. Originally I glassed in a length of alloy tube to the top of the cassettes, but it became clear that even a tiny error in the angle would cause the whole thing to jam badly, and in spite of my best efforts I had made some big errors. There was nothing for it but to remove the tubes and start again.
Fixing points in mid-air
For a while I puzzled over how to approach the task, because now I was trying to fix a point in space, having ground back the area on the boat and removed the tube from the cassettes. In the end I used a series of jigs to get the right positions. First the height of the tube and its distance from the inner transom were defined by placing it back on the cassette in its original position at the correct height and fixing a shaped piece of ply above it, oriented fore-and-aft on the centreline so the tube could be aligned in the other dimensions. Once the ply jig was fixed I could then determine the location of the split bearings. A second jig was simply 2 pieces of wood, one long piece that fitted tightly down the slot and a second carefully attached at right angles. This would be positioned so that its sides lined up with the slot when eyeballed from above – effectively a sort of temporary cassette. The alloy tube was cable-tied onto the top front edge of this contraption so that when lined up it would give the exact location for the bearings, which were glued into place on the boat while still clamped to the tube. The final step was to fit the alloy tube back onto the cassette, but this time I made a glass and graphite bearing to fit and glassed that onto the cassette, so the whole assembly could be dismantled.
It took a long time to get it all done, but the result is very satisfying as the cassettes now hinge perfectly up and down. The top sections of the split bearings slide onto threaded rods to be held down by nuts from above. The whole arrangement was one I had to devise, as it was not given in any detail on the plans.
The front beam now sports the seagull-striker arms, in laminated wood and carbon fibre, the strong point for the forestay attachment and a pad for the bowroller. Two coats of hi-build primer make it suddenly look like something off a boat, and the (very expensive) stainless brackets should enable it to fit perfectly in its place. While designing the brackets for fabrication I decided to add an attachment point for the bridle arms by simply extending the bracket forwards and adding a couple of 6mm fillets for strength. This means that the loads will be at the strong point on the hulls (opposite bulkhead 1), and 10mm bolts with backing plates complete the set-up. If a sea-anchor needs to be attached to this in a storm I don’t want to have to be worrying about the integrity of the fitting!
Now fired up by the success of the great sanding day I feel motivated to keep the speed of construction up. If I can achieve my targets there is no reason why I shouldn’t be able to launch this year. Perhaps I should hold some more parties…!?
PVC extrusions: www.wilks.co.uk
