“I’m going to get the boat finished this year” was my resolution back in April when the sanding party was such a success and things seemed to be moving along briskly. Whatever happened to all that spring bravado?
No one needs reminding of how poor our summer has been this year, and there is little doubt that the weather affects the speed of building, especially on a farm. The prolonged rainfall has led to many comments of how sensible it was to build the boat on the top of a hill and some wild speculation that we might be able to float off from here if it gets any worse! Mud and rain and cold days have made it more of a struggle that I expected. At times I have found it hard to get up any enthusiasm and the schedule has slipped once more. No chance of a launch party to coincide with my 50th birthday (my secret plan!) – all festivities are off until next season. The prospect of spending another winter working on the boat dampens the spirits still further, but at least I should only have the interior and the daggerboards to do then. I hope.
In fact, although it seems crazy, the race is on to get the boat painted before the cold(er) weather comes back. I am sure that a nice shiny boat will be a real lift, so I am hoping for a sunny September to provide me with the right conditions for applying the Awlgrip. The downside is that if I don’t succeed the temperatures and humidity will delay painting until May next year, which will mean another sailing season gone by… And this was supposed to be a two-year project! We are now into the fourth year with plenty still to do.
The perils of polyurethane
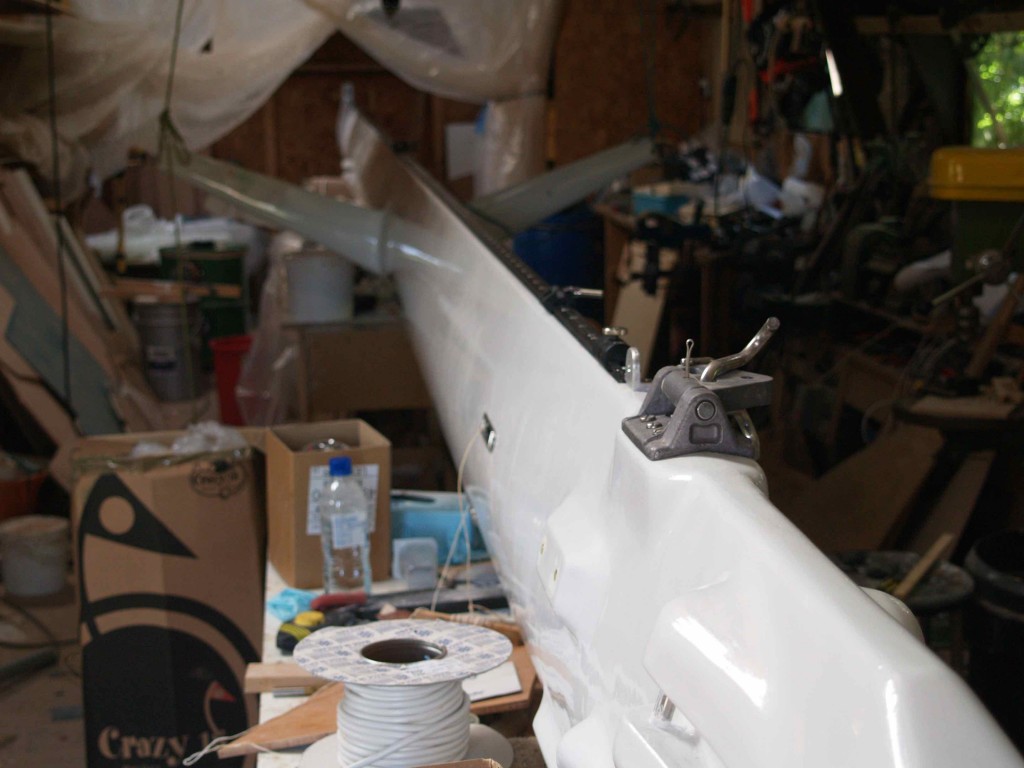
To get used to the Awlgrip high performance paint I have painted the mast and front beam, and I can report that it is not easy to master. Forget Dulux, this is a whole new experience. I have chosen to apply using a roller and brush, partly because the paint is so toxic that I cannot even contemplate spraying, and partly because that is what I am used to. Awlgrip is essentially three components – the paint, converter (hardener) and reducer (thinners). Getting the amount of thinners right is the tricky bit. Too much and the paint film is too thin, too little and the paint goes on OK but sags into runs and curtains because it is too thick. The paint is like thin milk, much thinner even than the International Perfection stuff I have previously used, but the solvents flash off very quickly and even the mixed paint needs topping up occasionally depending on temperature. You move along confidently having just done a perfect section nicely tipped off with the brush, then look back to check and the whole thing has started to slide! Watching the temperature is important, and in my case being prepared to accept one or two runs…
I made a mistake with the primer (545), because I applied it with the roller and it flashed off so fast that I couldn’t tip it with the brush in time. I learned to my cost that the orange peel effect in the primer is telegraphed straight through to the topcoat, so I had to sand the whole mast down and reapply. Still, at least it wasn’t a hull so it only took a day or so! Clearly the lesson is to sand down the primer after the second coat with 320 grit wet-and-dry, used wet, to get rid of the orange peel, then there is a chance of a decent finish after two topcoats.
A word on safety here. 2-pack polyurethane paints are deadly. They contain isocyanates, basically something akin to cyanide, and are not to be messed with. I use a disposable suit, nitrile gloves and a face mask with replaceable filters, which do not last very long because of the solvent intensity. Spraying is so dangerous that it should only be attempted with a special mask using clean air pumped in from outside. When I have applied a coat of paint, I lock up the workshop and leave it overnight. As soon as I can smell the paint inside the mask I change the filters. I would not contemplate using Awlgrip inside the boat, instead I am using old-fashioned exterior Dulux which is easily touched up and much cheaper than the poly. So why go to all the bother? Because the finished shine is amazing and the paint is incredibly tough and durable!
Finish is after all the only thing most people actually notice. All the demanding structural work is concealed behind a dazzling paint job, and the interior is often judged on nothing more than the quality of the furnishings. Like most of the tasks on this project I realise that you have to set your own standards. I could be here forever rubbing down and getting it all completely perfect, but there has to be a limit.
True grit!
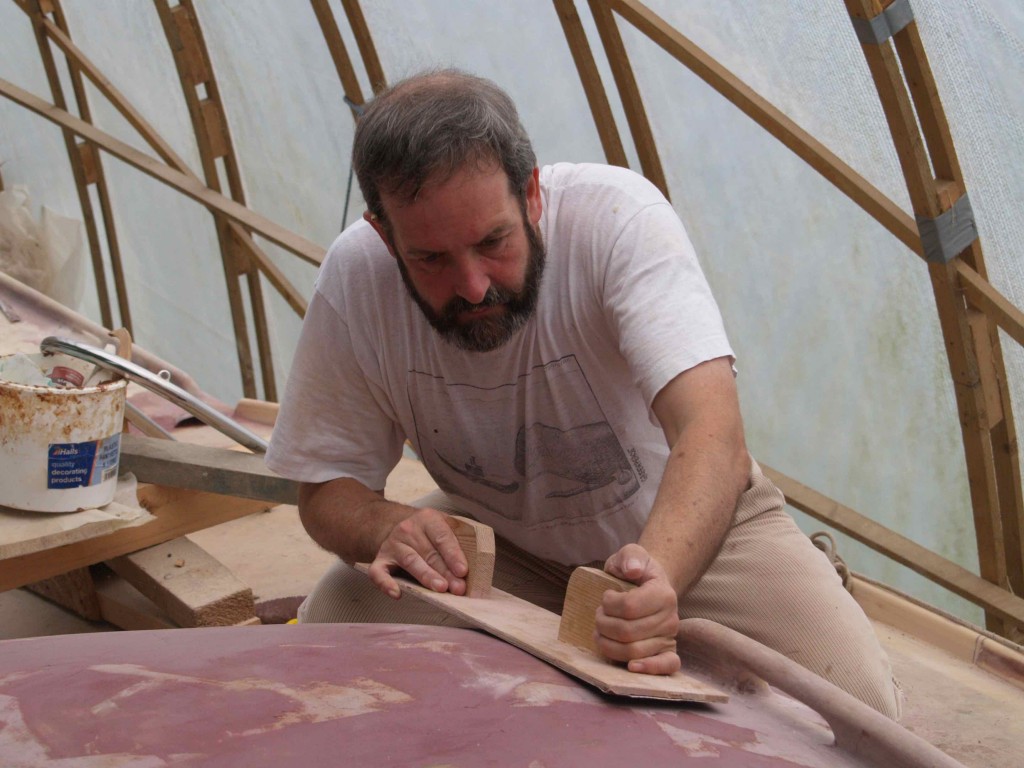
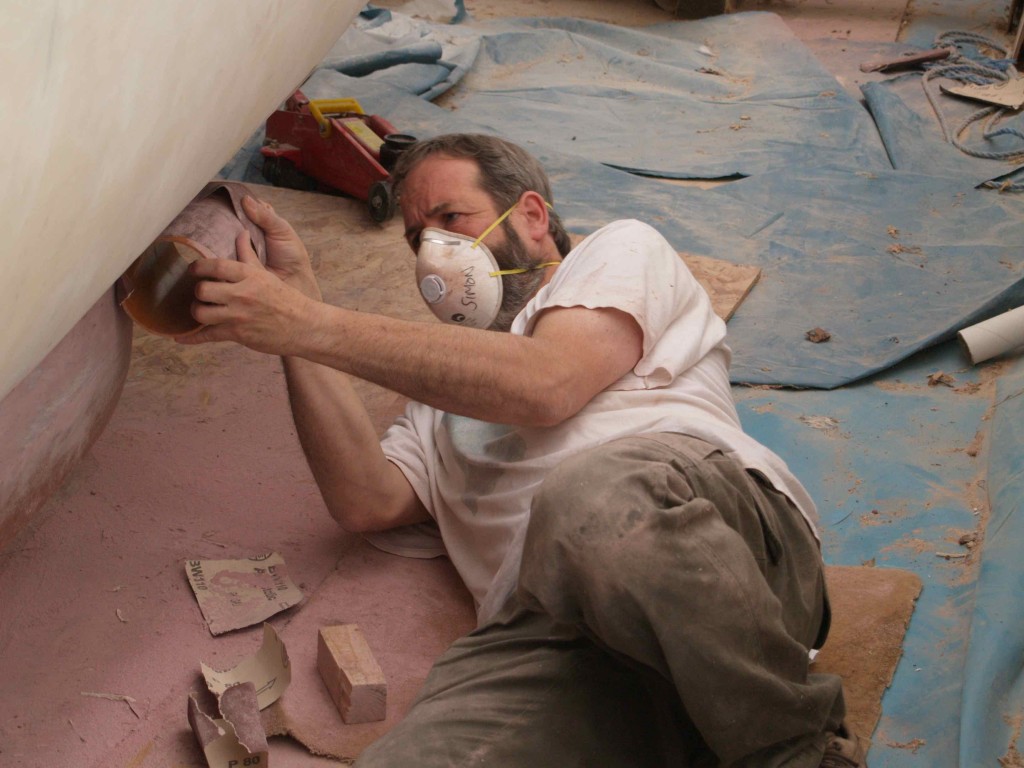
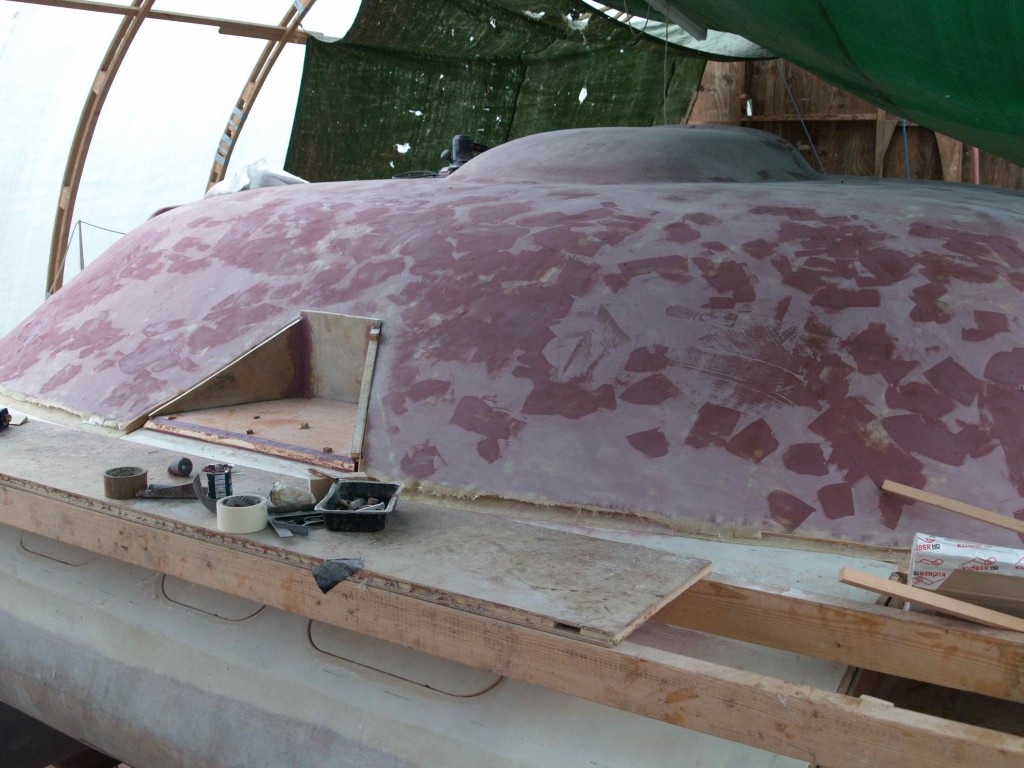
Just now we are finish-sanding the hulls and topsides ready for hi-build primer and then painting. It is hot sweaty work with a longboard and 80 grit – I find electric sanders just don’t work effectively, either they are too aggressive or just seem to clog and polish the surface. The hulls have had plenty of attention, but the cabinroof needs the full treatment. This involves a first coat of filler trowelled on, some gruelling sanding to get it all flat, then a fill of small areas that are still low (remembering to sand any shiny patches of filler first), followed by a light sand to finish, or more small patches of filler until satisfied. Then the hi-build goes on, fairly roughly as it is intended to be sanded back. I apply two coats then sand with 120 to 180 grit. Any last filling is done now, then it is on with the paint system, rubbing between coats until I am down to 320 grit. I am hoping to crew for a weekend on a racing boat in October, so by then I shall be a fully-formed gorilla!
Bogged down in details
I have to confess to getting rather bogged down in details. I wrote last issue about making my own glass chainplates and bumper keels. The home-made foam toerails and handrails are starting to look good. They have been shaped from Corecell and the undersides of the handholds glassed on the bench before gluing the rails onto the boat. Along the tops of the rails I have put 1200gsm uni glass then three layers of 300gsm biaxial cloth to bond them to the deck. The stanchion bases are simply made by casting a glass tube around some well-waxed alloy tube the same diameter as the stanchion. I wrap heat-shrink tape over the layup, then use a hot air gun to shrink it all tight and squeeze out the excess resin. It also kicks off the hardening process. To release the tube after it has set I blast the metal with heat until I can feel it through the glass, then run cold water through the tube. The alloy shrinks more than the resin and a little judicious tapping with a hammer does the rest. I have glassed the bases into the run of the toerails to give plenty of support. Of course they are taking a long time to do, that is why the professionals use extrusions and little stanchion bases bolted on! But mine will not leak and they work out much cheaper, in money if not in time. To me they look like a good simple solution.
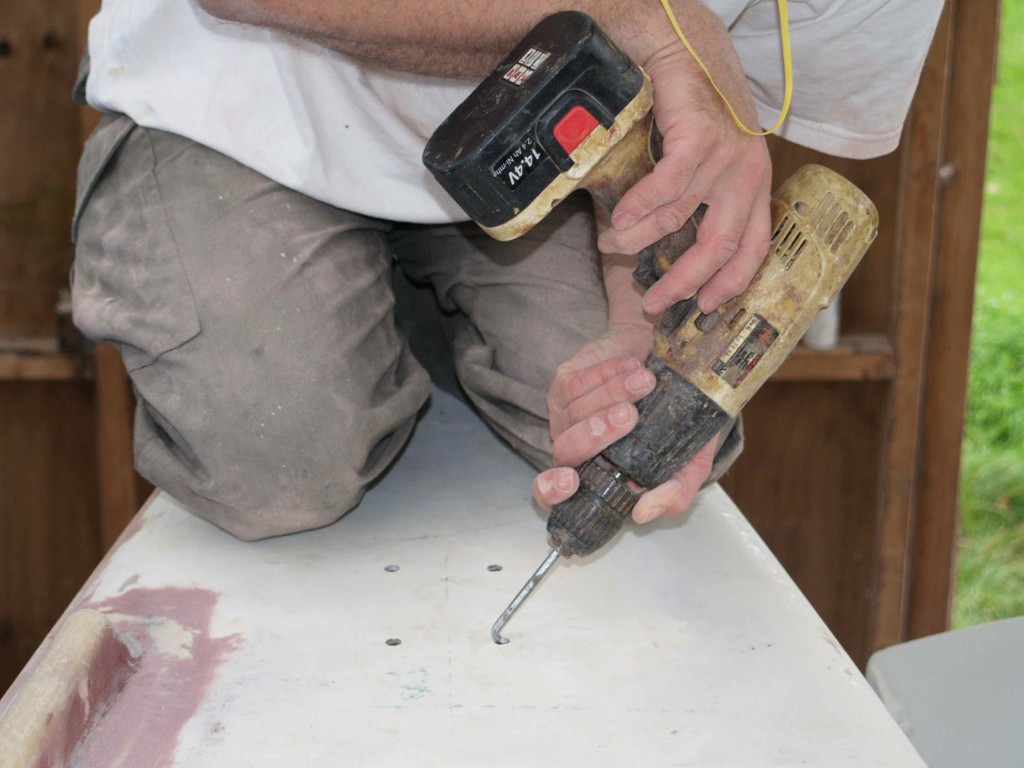
Drilling holes for hardware is something I take very seriously. Every hole gets the epoxy treatment, so that each bolt will have a collar of epoxy around it, protecting the vulnerable deck balsa from moisture ingress and increasing the strength of the fastening by several times. A side-cutting router bit is useful for larger apertures like hatches, but a ground-down allen key in a drill will fit into a small hole to excavate the balsa. For bolts I then put some sticky tape under the hole and fill it with epoxy prior to redrilling, and for seating machine screws just into a hole I drill the hole about 2mm bigger than the screw size to about halfway down or a little more, then drill 1mm smaller than the screw size to the bottom. This gives the screw just enough bite to hold it firm while the epoxy sets. Thin epoxy is syringed in first, to soak the wood grain, then a thicker mix to ensure the hole is filled when the screw is placed. The screwthread is also coated before putting it in. The mast track had 185 screws to do like this! I hope never to have to take them out again!! The details of a boat are important, to a large extent they make the difference between a good or poor boat, so I do not begrudge the time spent. There is a satisfaction in bedding a bolt down in epoxy knowing it is a proper job well done. I expect my balsa decks will remain dry and problem-free.
Dreaming of sailing
At least the drudgery of sanding allows me to daydream of actually sailing the boat. Back in the planning stages I let slip that I would love to cross the Atlantic, and over time this has grown to be one of the goals of the project as a whole. I recall someone’s advice to keep the dream of crossing the Atlantic to yourself for as long as possible, because once uttered it becomes an inevitability. How true! But it does seem to be a logical endpoint to take the boat across an ocean to prove that it really works. And my daughter has added demands of her own. 2010 will be her gap year after A levels, so it will be the perfect time to go, won’t it Dad!? That means the boat must be in the water next season to carry out sea trials and to give plenty of time for any modifications that might be needed. I would never contemplate setting out on an oceanic voyage in an untried boat without thorough testing and preparation. So suddenly the timetable has been decided and I had better get on with the sanding! At least it keeps the motivation going. All those time-consuming construction details are now put into their proper context – surviving in ocean conditions. There is no room for a quick bodge. Everything must be done right. Must get on.
Catching the multihull bug
Back to reality and the boatbuilding. My helper Andy has caught the multihull bug and bought himself a secondhand Telstar. Up at the farm he scraped the bottoms and applied Coppercoat and is delighted with the result. We put a section of ply coated with it on one side into the water attached to his mooring on the Exe, and three months later the copper was completely clean but there was thick weed over the rest of the board. Being water-based it was a doddle to apply with a roller. Four coats are applied on the same day, gradually building up the necessary thickness of copper. And that should be about it for ten years or so, give or take the odd gentle rub down with a Scotchbrite pad. It will be even easier to apply to my hulls because there will be no old antifouling to remove first. The bumper keels are already coated, so I should be able to cover the bottoms with no gaps by resting the hull on the keel and removing the supports for painting. The other hull should hold things upright, but I will use a timber steadying piece at each end just in case. All I need is a dry day!
I am looking forward to the occasional day out on the Telstar, if only to keep my hand in and remind myself of what it is all for. This project is getting there, if a lot slower than I expected. It is a slog just now. But the water is not lapping at the door just yet!
