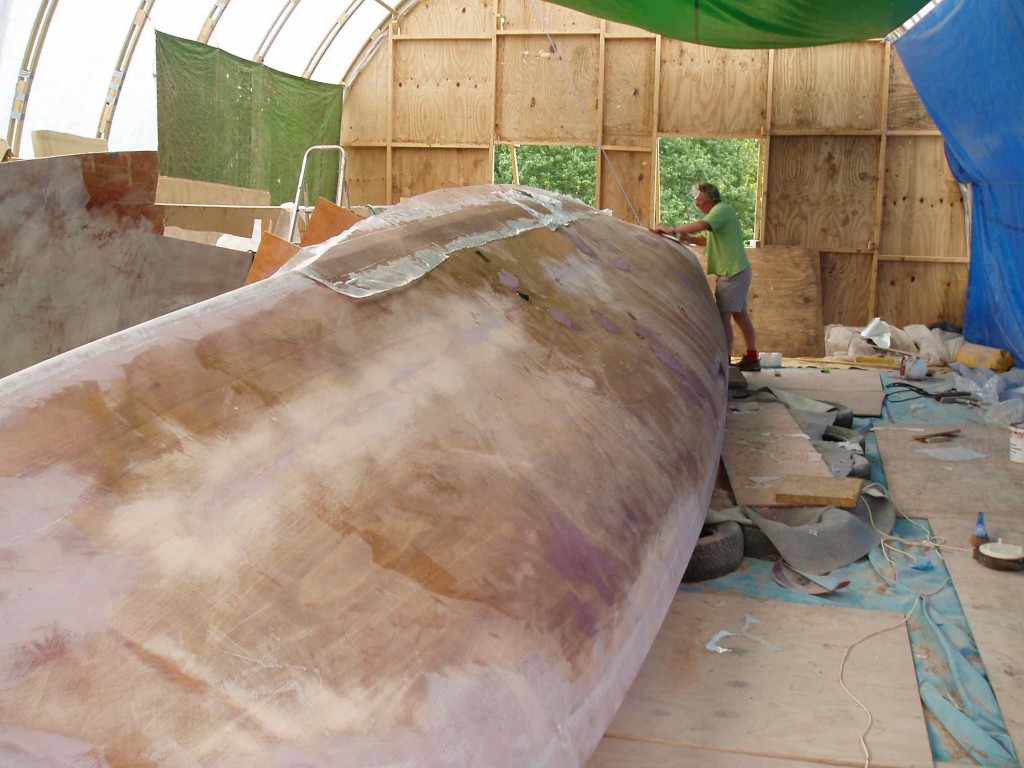
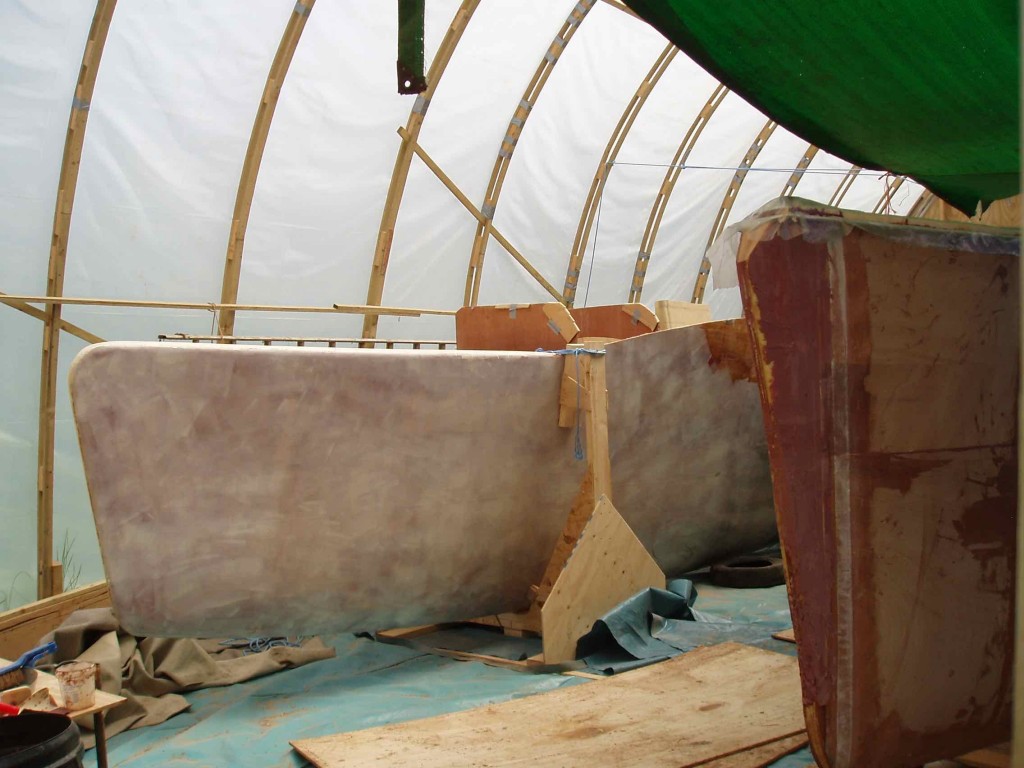
Warmer weather finally arrived in late April 2006, and work could begin again in earnest. Each hull was rolled onto one side to grind and glass the keel. The copper ties were simply snipped off and ground and sanded back with the ply. Parts of the hulls low down near the centre needed quite a bit of filling because of the compounding, but most was very fair. This is one of the advantages of building in plywood.
Moving the hulls
We shifted the individual hulls around using old tyres to rest them on and 2 block-and-tackle strap arrangements, each set in about a quarter of the way from the ends. Two of us could raise and lower a hull in and out of the cradles in a controlled manner using car jacks. We would lower the hull onto the carpet-covered tyres, restraining it with the ropes, then gently ease away to bring the hull down onto its side, reversing the procedure to bring it back up or flip it onto the other side.
Levelling the hulls and getting a vertical bow was a real problem because of the frameless construction method. With a frame everything is set up and clearly marked beforehand and remains repeatable. With our fold-up hulls it was very tricky to get any sort of accuracy and some errors inevitably crept in. It probably doesn’t matter if a bunk is a tiny bit off-level, but it certainly matters for rudders and bows and getting it level fore-and-aft.
Tackling the blisters
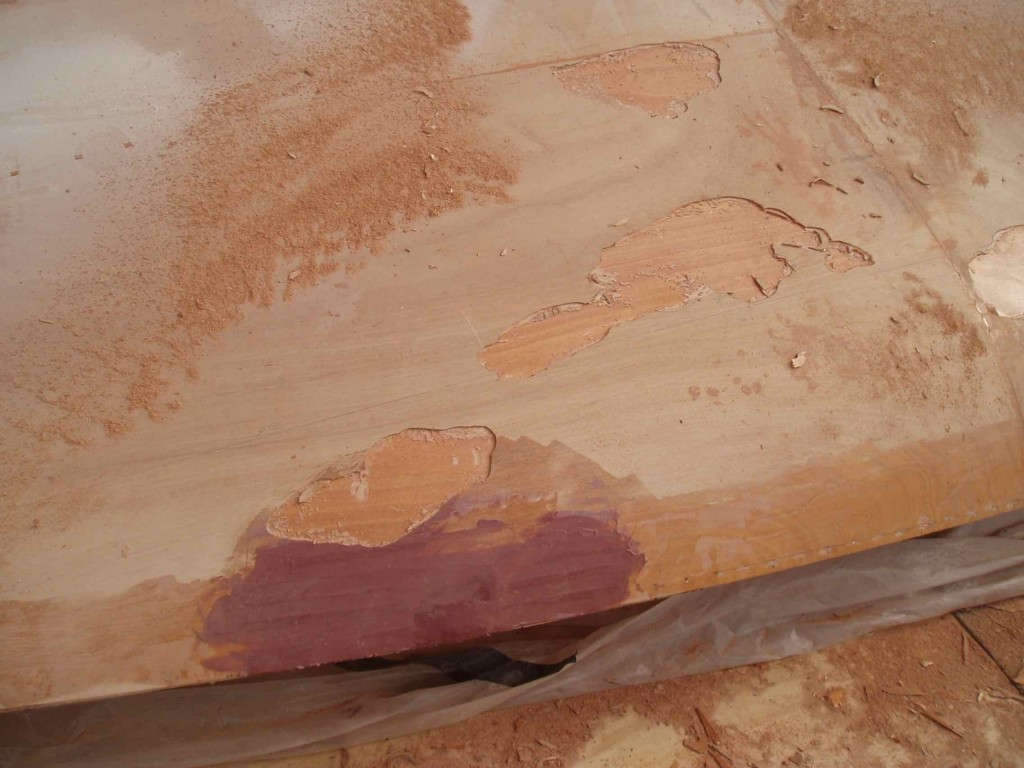
The big problem was the blisters, or more accurately voids in the ply laminate. Nothing to do with the materials, these were due to air becoming trapped between the sheets of ply in the initial laminating process. They could be detected by sound: running one’s fingers across the surface gave a papery hollow sound. At first we thought it was just a few areas, but we ended up filling about 50 blisters on each side of each hull, about 10% of the total surface. The way we tackled it was to rout out just the top layer of plywood in each area using a ¼” bit, sand down the shiny exposed epoxy, add a piece of 600 gsm glass and cover with bog. We found that once-used peel ply was ideal for smoothing the bog and pressing it into the voids. Its extra stiffness allowed it to conform smoothly to the shape of the hull and a block of wood was used to flatten it out. Once set, the edges of the bog-and-glass were ground back a little before sanding fair with 36-grit on a board. This was hard work and inevitably the repairs set us back a month or so.
In the middle of this drudgery we took time to visit ‘Spirit of Teignmouth’ in its shed on the town seafront. If only we had facilities like that instead of a damp field! The chaps building it poured scorn on our use of balsa core (“70’s technology!”) and on using glass reinforcement on the inside of the hulls. But the sections we had cut out and tested by jumping on them were wonderfully tough, and I stand by our method, never mind the racers! I think balsa has got a bad name because lazy builders have not bothered to seal it against water ingress around openings and holes. Of course it will rot if it gets wet, so it is time well-spent making sure every hole is ground back and filled with epoxy.
Shaping the bows came next. They were rounded and faired until they reached a pleasing profile. I was glad to have taken the decision to slope them forward, something that has resulted in a much more attractive shape overall. The design calls for the bows to have 11 layers of glass cloth. These are more resilient than using three layers of heavier biaxial and are laid on so each one falls slightly shorter than the last, giving a gradual gradient. One of the key things about composite work seems to be always tapering out glass reinforcement so as to avoid stress concentrations due to an abrupt change of stiffness at the edges. When the glass is set it is faired in with bog before the entire hull side is glassed with 200 gsm cloth.
At this time we sanded and faired in the hull side extensions and added the sections of outboard hull side above gunwale level. These had been left off in the initial fold-up because of the deck flange. Another little variation from the original drawing was introduced: instead of fixing the upper side sections to continue the line of the flaring hull sides, we decided to make them vertical. This created a chine at gunwale level that could later be disguised by a PVC rubbing strake. The main benefit of vertical sides would be to make the curve of the hull side-to-deck join smoother. This compound curve was to be made in strip-plank cedar. In many ways the success of the design would depend on getting lots of curves into it. The yacht club bar experts were expecting a multi-chined tub and I was determined to disappoint them!
Surface blisters in the epoxy
As if we hadn’t had enough of blisters, we now started to experience the problem of out-gassing. Nothing to do with curry and beer, this happens when the epoxy soaks in and displaces air in the structure of the wood, and can cause a rash of small blisters to appear on a surface that 5 minutes before was perfectly glassed and smooth. It is enough to drive you to distraction! The worst blisters occur where there is a little void behind, and when temperatures are rising so the air is expanding. We tried almost everything to prevent them, but in the end we had to accept them as a fact of life. (They even appear on flo-coated panels, so we started doing those in the afternoons as the temperature was beginning to fall.) The worst blisters were drilled and injected with epoxy, but many were too infuriatingly small for this treatment. At the final sanding and finishing stage they will be cut out, filled with a colloidal silica mix and sanded back. After all, the purpose of the exterior glass is really to provide a matrix for sufficient thickness of epoxy to be built up over the ply, so a few penny-sized blisters would not have much effect.
As the spring wore into summer, temperatures in the Cathedral escalated. It could reach 40 degrees C on a sunny day! After a near-disaster with epoxy going off too fast something had to be done. I bought some silage clamp netting, and this cut out a lot of excess heat, reducing the temperature by over 5 degrees. Rigging tarpaulins inside to keep direct sunlight off the surfaces also helped. So did removing panels from the ends to encourage the air to flow through. The good news about prolonged raised temperatures was that some post-curing was clearly taking place. This is a process whereby epoxy continues to harden and strengthen throughout its life. Post-curing can be done at any time, not just when a boat is being built. 40 degrees for 36 hours is about right, according to the experts, and any higher would not be good for the balsa core.
Once the hull side was glassed, it needed 3 further coats of epoxy, which were rolled on in quick succession. The last 2 coats had a white pigment in them to show where the coverage was sufficient. At last we had a glimpse of what the final boat might look like!
Crashblocks
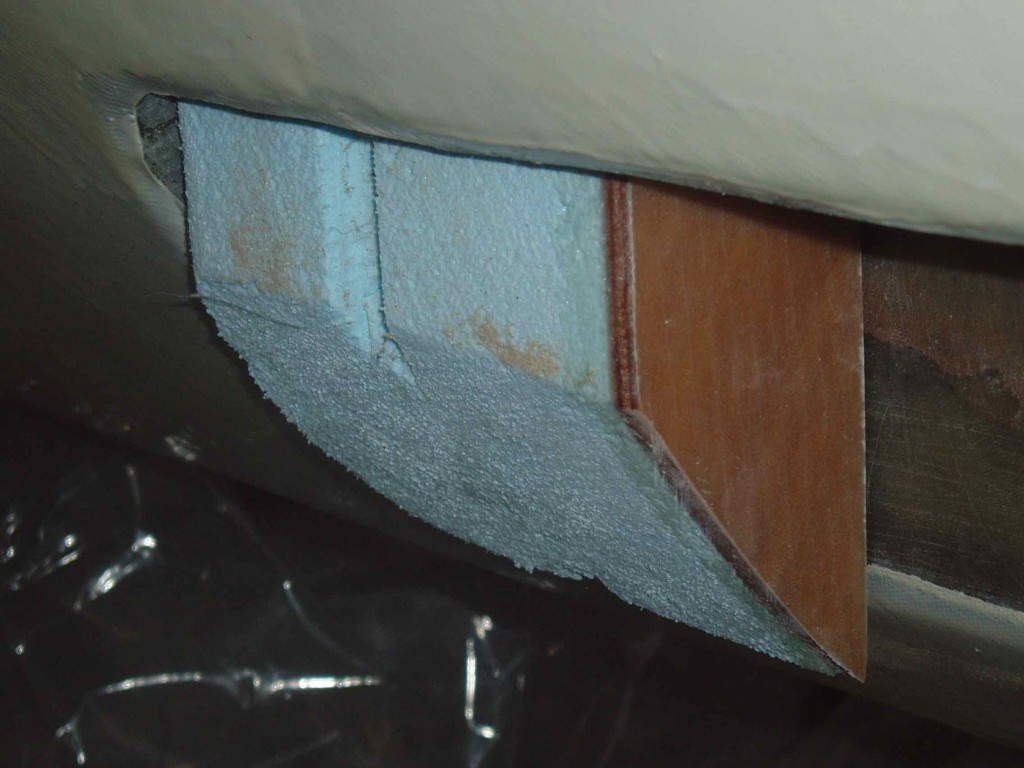
The outside of the daggerboard cases was also glassed in at this stage. This area is the most highly loaded of the entire boat, and the designer suggests that it is hardly possible to overbuild it. What you have to avoid is the nightmare of hitting a rock at speed and the trailing edge of the board splitting the case and causing a serious leak. Kurt Hughes addresses this by using a sacrificial styrofoam crashblock at the aft end of the case. He calls for endgrain balsa in the main body of the board because of its excellent compressive strength, and foam in the tip of the board. If the worst does happen, the crushed block can be simply pulled out and replaced and the mashed-up board tip will be a straightforward repair because water in the foam is not such a problem.
Again multiple layers of lightweight cloth are built up to give significant strength to the join. All corners are well-rounded for the cloth to adhere easily, and will be built up again later with bog. Similarly the transom corners are rounded off. Any edges below the waterline need a sharp corner, while those in air must remain rounded for least resistance.
Inside the boat, reinforcing ribs of glass-covered balsa were positioned at the aft beam location. I spent a lot of time thinking about how to achieve a strong hull-to-beam join while keeping enough room for a double bunk, and in the end used the ribs to strengthen the cut-away bulkheads. Time will show if I have done enough. Another departure from the plans, so it has to be thought through very carefully. Then the bunk bases were added. These have remarkable rigidity considering they are only a sandwich of 12mm foam between 3mm ply faces. I like the fact that all these interior components are contributing to the hull’s overall structure, not just adding dead weight. At last the hulls are starting to look like a real boat.


