September
I have a new worker, Andy, hugely experienced as a university technician, a fine Finn sailor and someone who has built boats before. We also have Sam, a lad on a gap year, helping out. I have decided to put in a flare, a side extension to the hulls beneath the cockpit. This seems to be one of the designers’ tricks to get more space into the hulls without condemning the boat to unnecessary slamming under the bridgedeck. It is the first major departure from the standard plans. We tackle it with relish, cutting away a portion of the hull, kerfing the ply and balsa right down to the glass to bend it out into a smooth shape conforming to our template (which will ensure symmetry with the other hull), and adding cedar strip in a gentle curve out from the hull to bridge the gap underneath. The kerfing is done with my old Elu biscuit jointer, essentially a mini circular saw which swings down to an adjustable preset depth. It is such a versatile tool that it seems a pity the manufacturers have made all the latest models with a different push-type plunge action, useless for grooving. We inject the kerfs with a bog mix to fill the gaps. By glassing inside and out, the modification is immensely strong, and gives 48” across the aft berth, a neat space further forward for the steps to recess into and room to position the basin and sink in the heads and galley compartments.
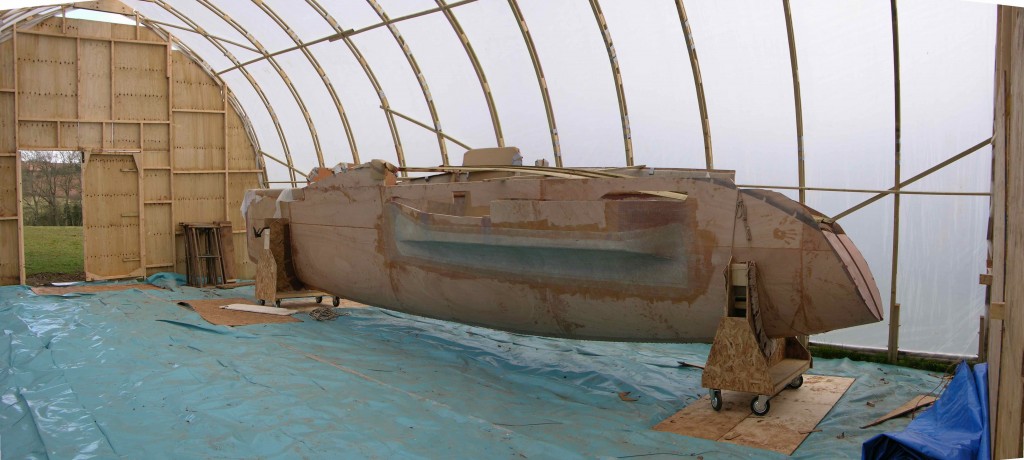
As we work, there is discussion about what to do with Hull No 1 (starboard) while Hull No 2 is put together in the cowshed. We make some trolleys and wheel it out into the sunshine. Much excitement as this is the first time any of us have had a chance to stand back and get a proper look at the boat. The hull shape is all that I had wished for, long and slim and well-rounded, not at all the sort of shape you might expect from a plywood boat. But it is clear we can’t leave the hull outdoors in the yard for any length of time, even under a tarpaulin. The outside is still untreated ply and needs to be kept as dry as possible. And I am a little concerned about some blisters that we can feel in the ply laminate.
Plan B, C, or is that D?
The value of tea-breaks is hard to calculate, but I think some of one’s best work is done after having a good discussion over a cuppa and a biscuit. Back at the ideas stage of the project I had asked the farmer if it might be possible to erect a temporary shelter in his field, for assembling the parts of the boat. This was when I still thought I might be able to build inside the workshop. Suddenly, now we have a measure of the real size of the project, the time for needing the shelter is upon us, and so is the wet weather. It is now October but before we can even start the second hull, the polytunnel must be tackled. We cover a lot of envelope backs discussing how best to construct the cheapest adequate structure.
The Cathedral
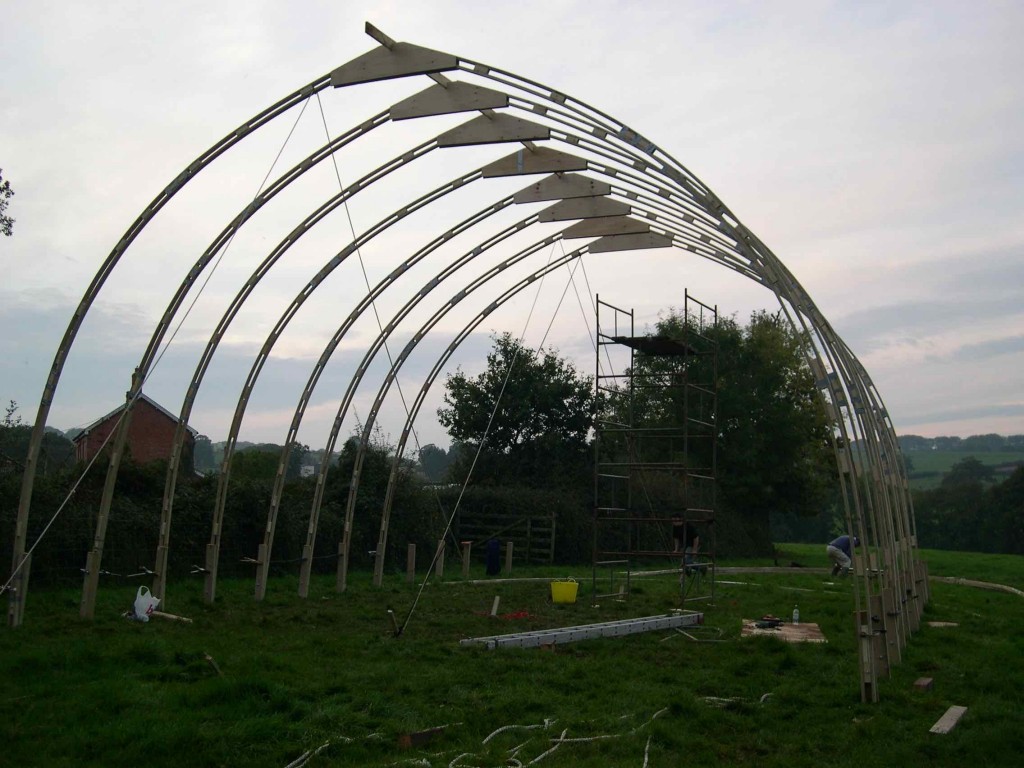
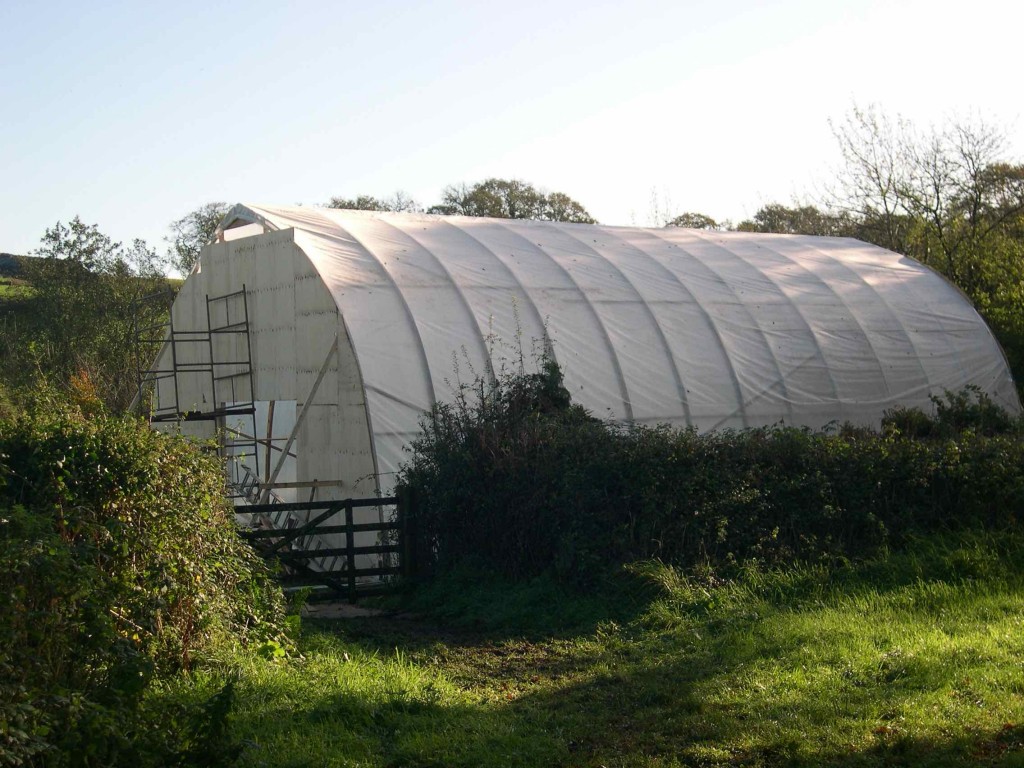
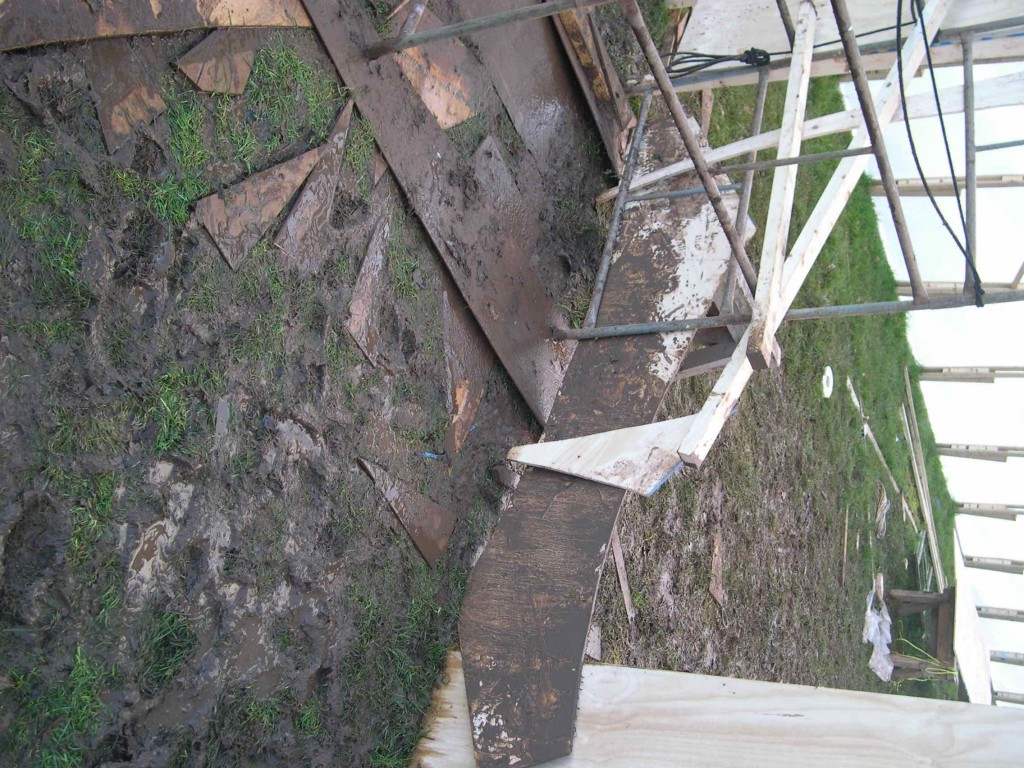
The Gougeon book has a useful chapter on shelter-building, and we followed their guidelines, making 26 half-frames out of lengths of cheap 2 x 1 with 2 x 2 blocks as spacers. Ply holds the apex together and the frames are bolted onto stakes driven into the ground. This ensures that we can leave the field pristine when the work is over. But how big was this thing going to be? Calculations suggested that 5m tall, 8m wide and 13m long was about right giving a metre or so clearance all round the boat and sufficient headroom to stand on top. I can tell you this is one enormous building! Several people came by and asked whether we were building an ark upside down! We lifted the delicate frames up to vertical using ropes on either side, clamped them quickly to the stakes, then bolted through once they were aligned. Everything was frighteningly wobbly at first, and gradually became more solid as the board at the apex is attached. Horizontal cross-braces brought the sides under some control, and diagonal pieces were screwed into the gaps between the two sections of 2×1. At this time we developed the “ski-platform”. The ground was so muddy that we were able to manoeuvre the scaff tower to and fro on its scrap ply ‘skis’. We roped it in place to ensure it didn’t move while someone was 5 metres up in the air! Finally the ends were added using 8×4 shuttering ply over 3×2 framing. Because of the flying buttresses bracing the ends, the tunnel was quickly nicknamed ‘The Cathedral’. I suppose we could hire it out for raves when the boat is finished….
Mud, mud, glorious mud!
True to form, the British weather threw everything at us for four muddy weeks while we were building in the field. It was a grim experience, and more than once I questioned whether I should persevere or give up until the spring. We had to wait until the wind settled down one evening before pulling the horticultural-grade polythene over the frame and heaving it down tight at the sides. Water cascaded off the plastic and flooded straight inside, so we constructed a gutter system to carry it away, and dug a drainage trench for good measure. At last it was watertight, but condensation drips made it feel like a rainforest on a (rare) sunny day. When the mud had dried a bit we rolled damp-proofing plastic out for a floor. Autumn gales buffetted the structure, and it now proved its resilience, moving a little under the force of the wind, but giving great confidence that it would hold out. Definitely a design to recommend, thank you Gougeons! Eventually, by now November, it was ready for the hull to be brought inside, and at last we could start on No 2.
Where had all the brave plans of the summer gone? We had worked so hard, but it was now nearly winter, the most unfavourable time of the year for constructing the second hull. It had taken six months to get a single hull built. I worked out that about half of that time was in fact spent doing things that were part of the project but not directly boatbuilding, such as constructing the polytunnel, making frames, trolleys jigs and flanges, mucking out the cowshed, setting up the vacuum process, and design work (aka tea breaks!). At least this meant that things should go a bit quicker from now on. Perhaps we should have called a halt for the cold, damp weather, but back in September in a rush of enthusiasm I had cut the hull panels and they were lying exposed in the cowshed. They needed to be put together.
November
Our latest target is to get the port hull made by Christmas. Damp is the enemy, and I can see where the ply panels have buckled a little as they expanded. We lay the keel with none of the panic of the summer, but instead facing the difficulty of falling temperatures in the evening that make the resin like thick honey and reluctant to wet out glass. But as soon as the deck flanges are on insulation panels are laid across the hull and a dehumidifier and heater placed inside. Within a couple of days it has extracted about 3 litres of water and the atmospheric humidity is down to 50%. Outside in the shed it is a staggering 98%! The little thermometer/hygrometer becomes my best friend. As the ply panels dry out the buckling vanishes. Clearly monitoring the humidity is key. Gougeons state that wood with 8% moisture content is the ideal for boatbuilding, as the material is lighter and stronger. I am already using the hotbox to keep exposed materials in where possible, and it is noticeable that the contour balsa only has to be left out for a few hours before it starts to expand and take on a curve.
This time the hull goes well, and a few days before Christmas we have it fully lined with balsa and glass and ready for bulkheads. Even the glassing process, such a nightmare before, is more controlled. It still took 4 people 2 long days, but at least we knew what we were getting into. I feel that at last we are getting much more used to epoxy’s variability. It changes characteristics so quickly with temperature, and this is what makes some people exasperated with it. At least when the weather is colder we can use heaters to make it more useable. Finally the story-stick set aside from the first hull transfers the bulkhead positions accurately to the gunwales of the new hull.
The Blisters
It was around this time that I began to realise that the blister problem on the outside of the hulls was more widespread than at first thought. Running fingers over the ply you could hear a papery sound where there was a void. Some of them were as much as 300mm long, some just isolated bubbles. What must have happened was that air got trapped between the two layers of ply in the original vacuum-bagging layup. The yacht-club bar experts all wagged their heads and said ‘I thought that would happen’. I wish they had voiced their doubts before we started! I had just assumed that the vacuum pump would extract all the air; certainly the instructions contained no warning about the danger of blisters. The question now was how serious was the problem and what could be done about it.
Because I had chosen to line the ply with balsa and glass, effectively making a sandwich construction, the integrity of the boat’s hull did not rely completely on the bonded ply laminate. Therefore I concluded that we could rout out the blisters and fill them with glass and bog with no significant loss of strength. We would still have the underneath layer of ply intact, and we knew (from cutting the side extensions) that this was well bonded to the balsa. If, on the other hand, I had gone down the route of 2 thicknesses of ply supported by stringers and bulkheads only, it is possible that both the hulls would be write-offs, or at best seriously compromised. The only remedial action would have been to inject epoxy into the voids, an uncertain process at best, and not guaranteed to make a good bond with the smooth surface inside.
Why had this happened in the first place? I followed the instructions scrupulously carefully, and the vacuum pump was certainly up to the job. The answer seemed to be that one layer of the ply should have had some tiny holes drilled in it, say at about 100mm centres, before the original bagging process, just as foam sheets are pre-drilled. It would have been easy enough to do when the ply was stacked for scarfing, but had not been called for by the designer. The more we thought about it, the more obvious it seemed. It would otherwise be impossible to ensure that all the air had been extracted. Hindsight is a wonderful thing, but not much help. I emailed the designer but received no reply. Perhaps he calls for this now, but when I purchased my plans he did not.


