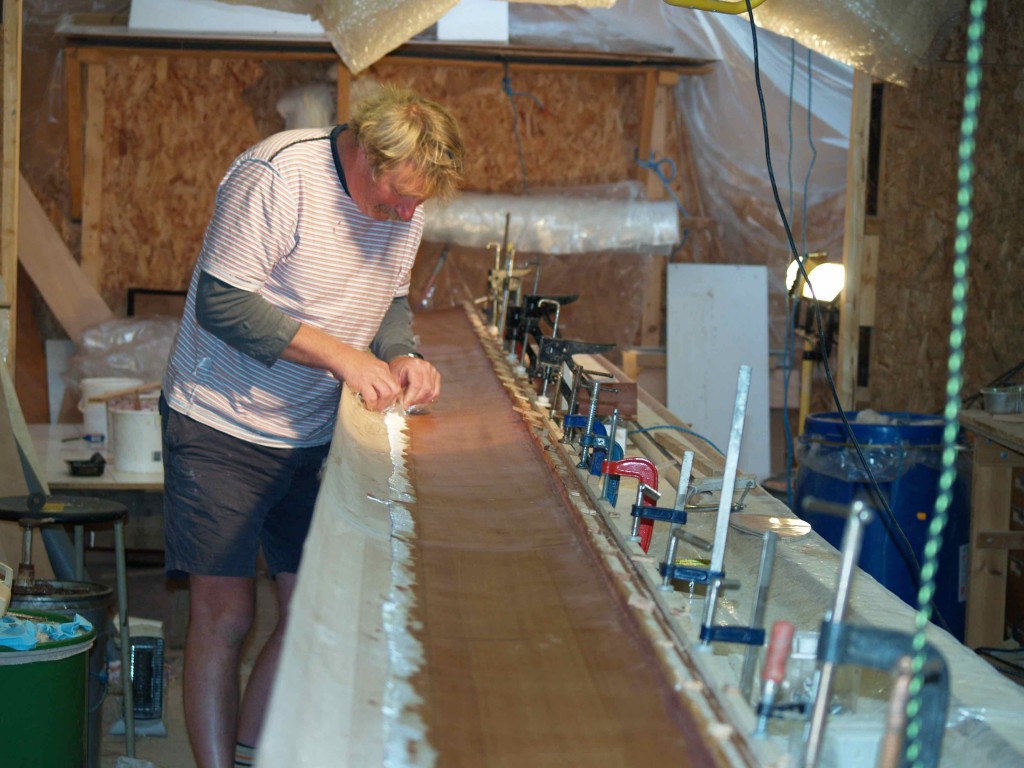
The winter months are always a slow time. Epoxy is the consistency of thick honey, damp and cold are the enemy, heaters and lamps are in constant use. And then there’s the inconvenience of having to stop for Christmas!
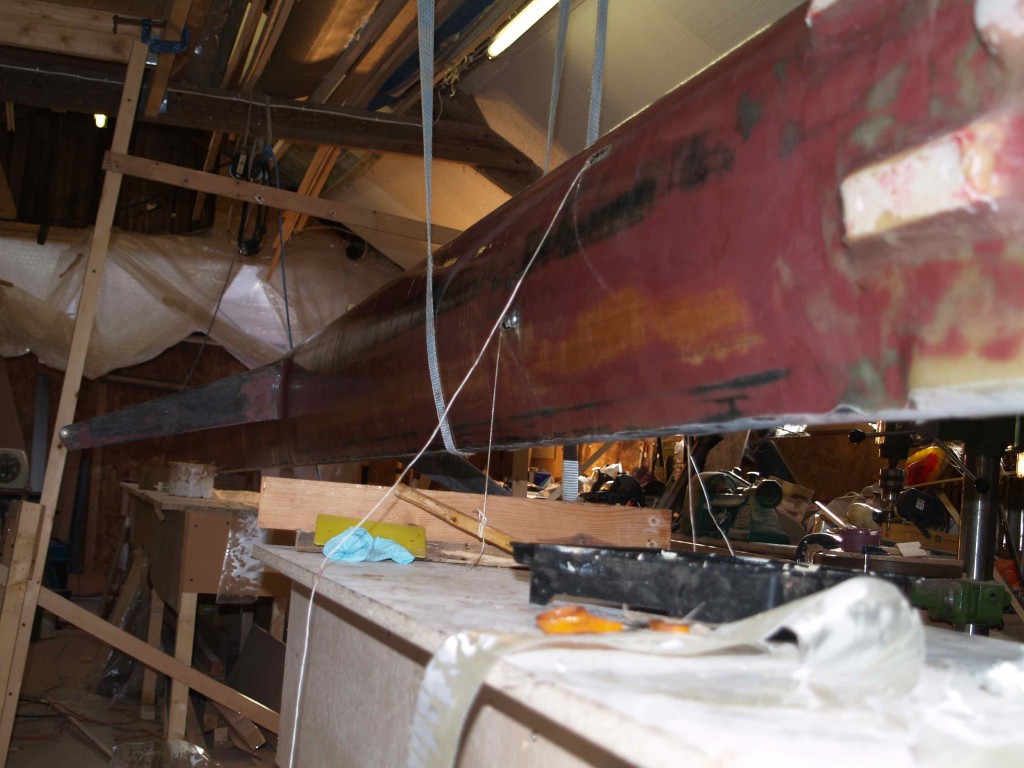
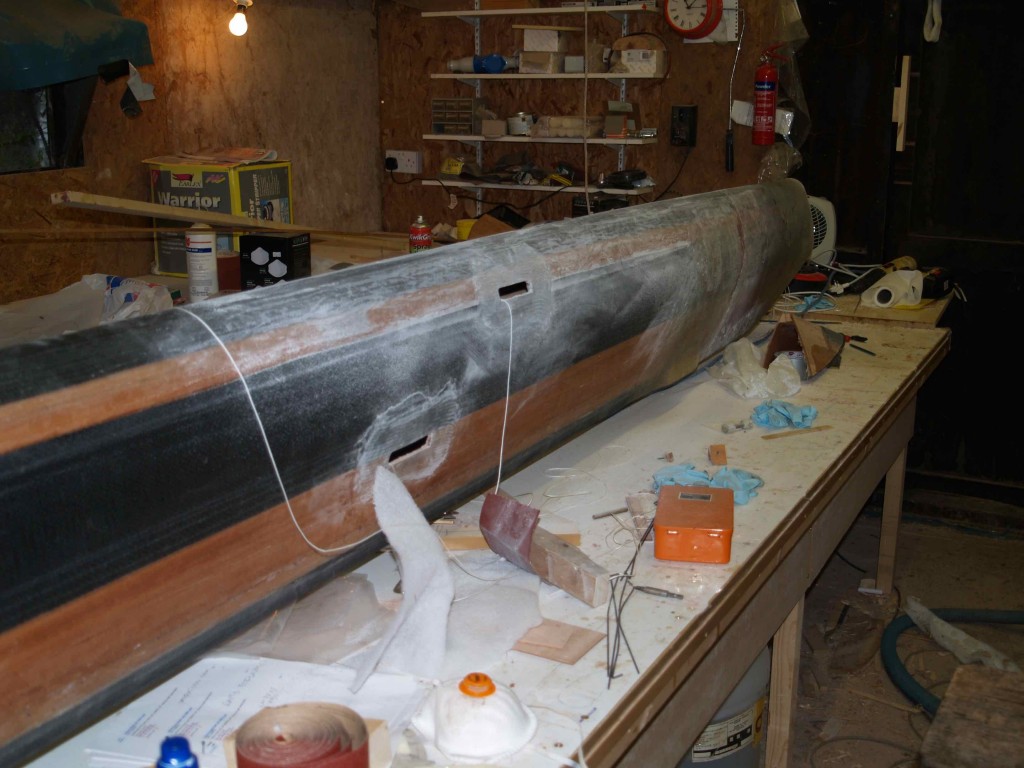
I have been trying to keep the pace going in order to finish the mast in the workshop and to free it up for other jobs. As usual the details have taken far longer than anticipated, but they need to be done right. For the hounds and diamond attachments I first made little ‘dumbells’ by wrapping glass around the metal sections. Attaching them involved carefully wrapping them with unidirectional glass and then spreading it across the surface of the mast, finally covering with some 300gsm biax. I used foam wedges so the glass could wrap around the dumbells and then slope back to the mast surface to take the loads in a fair line.
The spreaders themselves were easy to cut and sand out of 40mm of foam. I covered them with 5 layers of carbon and some biax glass. The end fittings are made from offcuts of stainless tube with Vesconite bearing inserts. The diamond wire will need to have a Sta-lok fitting on one end so I can thread it through the spreader hole. Commercial end fittings sometimes have a means of locking the wire off at the spreader, and I could add something to achieve this if necessary, although my thinking is that if the wire is locked off any tensioning using the rigging screw will tend to pull the spreader out of line, just what I don’t need with glassed-on spreaders. I may need to check that the friction at the spreader ends does not cause the spreader to bend either. In fact, the best way might be to attach a triangle of ply to the spreader when the shroud is being tensioned, to prevent it from bending.
Thought has also had to be given to the halyard falls. These are complicated by the rotation of the mast, and in the end it did not seem to be possible to lead them back to be tensioned and stoppered from the cockpit. The original plans had all the falls exiting the bottom of the mast just aft of the rotation cup, but this is difficult to achieve with a shear web and weakens the base of the mast. Exiting the falls some way up the mast and bringing them down to a spot on the deck where they do not interfere with the mast rotation would necessitate some awkward placing of turning blocks and the risk that they would add more twisting loads to the gooseneck. So I have opted for a compromise: stoppers fitted to the mast with the tails going down to blocks on deck and back through bullseyes to the cockpit winches. This does mean two people to hoist the main, but it will require that anyway. After the halyard is locked off at the mast stopper the tail can be allowed to slacken so allowing free rotation.
Perhaps the neatest system I have seen is the one used by Farrier, where the tails go straight down through the base of the mast right to the bottom of the main beam, then back to the cockpit in a tunnel underneath the bridgedeck. Very smart, but I would have needed to design it in at an early stage. Another time.
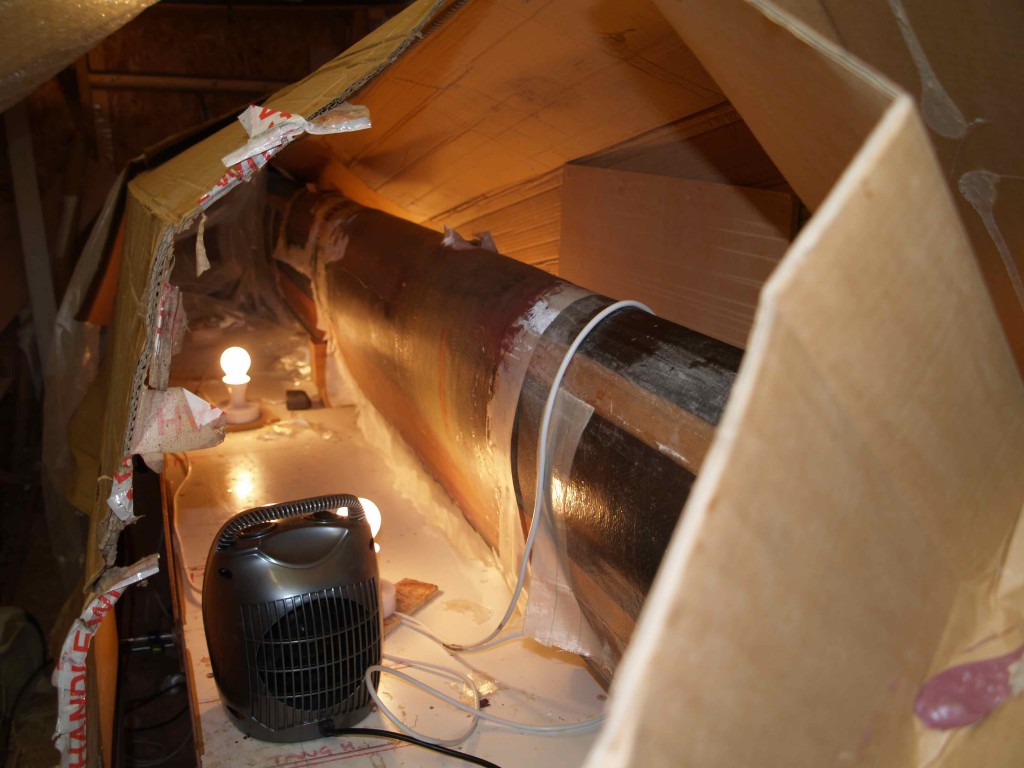
The mast has had an overall fill and fair ready for its final jacket of glass cloth. When this is complete I want to get as much post-cure strength as possible, so in time-honoured country tradition the completed mast will be transported up the road to the farmer’s chicken shed where it will bask in 40 degrees for a couple of days (before the chickens arrive! I also had visions of a row of broody hens perching all along the spar!)
The expert at SP tells me that post-curing can take place at any stage during the epoxy’s life, so there is no disadvantage in waiting until the mast is complete before doing it. 40 degrees is about right because of the wood – much higher and there is a risk of outgassing problems.
Starting the interior
It has been a relief to come back to doing tasks on the boat itself after concentrating all efforts on the mast for so long. The interior is the logical thing to tackle in these cold months, and it is quite satisfying to do the cabinetry which only needs to be glued in place and is far less critical in terms of strength. Of course the level of convenience and comfort is determined by the layout, so getting things in the right place is important. I have been on many boats that could have been hugely improved by small alterations, perhaps a handhold in the right spot for the companionway, a different height for the worktops, a slightly wider doorway. These can make a big difference, and this is where I hope that my practical on-the-hoof design approach will pay off. Drawings can give a false idea of space. Nothing beats standing there and trying it out.
I am way off the plans now – nothing KH has drawn relates to my chosen interior, except perhaps the specifications for the weight of bulkheads and his boxing-in of the main bulkhead to give it maximum rigidity. I fixed some of the general dimensions back at the planning-on-paper stage, such as the width of the companionway (600mm), but otherwise I have an empty shell. Starting at the top of the companionway steps I place 9mm ply bulkheads which form the end of the galley (to port) and the door to the heads compartment (to starboard). The front of the worktop determines the width of the bulkhead, and going up and down the steps shows me where the handholds and post need to be. The chart table to starboard forms the deckhead to the heads compartment. Ian Nicolson’s Boat Data Book is invaluable for ergonomic data like how far one can reasonably stretch forward (for the maximum depth of a cupboard), worktop heights and so on. Other fixed dimensions come from things like the sinks, stove, fridge and chart sizes. Height of worktop is partly determined by the space needed for the plumbing underneath. Fred Bingham’s Practical Yacht Joinery is a good reference work on construction techniques, and Michael Naujok’s Boat Interior Construction tackles a lot of the awkward fitting-out tasks. Although these books are about monohull construction, and so tend to specify quite heavy materials, they are excellent when I get stuck with a tricky problem.
Breaking the areas down into sections means that I can avoid the pitfall of getting carried away in one area and finding out too late that there is not enough room for something further along. I also have to bear in mind that the boat still has to come apart for transport. The back of the galley eye-level cupboards and the ‘wall’ to the heads come just at the break line where the bridgedeck floor lifts out, so they can be glassed in place. All the furniture for the bridgedeck cabin will be glued after final assembly, so will rest on wood cleats for now.
My aim is to finish the boat quite simply. I think one source of difficulty for homebuilders is the assumption that it is possible, or even desirable, to emulate the sort of finish that production builders achieve. It generally is not worth creating moulds for interior furniture on a one-off. Anyway I don’t want to invite comparison with a factory-built boat – it would be like comparing a handmade piece of pottery with a mass-produced mug. I want to celebrate the individuality and quirkiness of my own creation: warts (or should that be blisters?) and all, it has been built with love! My boat’s interior will be homely not swanky, and I will not allow the glossy pictures of cats costing hundreds of thousands more to make me feel inadequate.
Comparisons are odious
I think it can be quite easy to get depressed by comparing one’s efforts with the factory output. It has been interesting that many of my recent visitors have asked me about coping with the times when any work on the boat just seems too awful to contemplate. Probably everyone goes through patches of the blues when it all seems too ambitious and an endless slog with no reward in sight.
Building one’s own boat is a highly risky business. Unfinished the boat is worth less than the pile of ply. Even when finished there is the danger that a shoddy job might make the boat a poor performer and reduce its second-hand sale value. Sometimes there just seem to be so many ways to cock it all up and only one way to get it right.
Avoiding depression
But the surest way to allow the project to depress the spirit is to try to reach for unattainable perfection. This is no excuse for poor structural workmanship, and I hope that my own efforts will stand the test. But I think we have to accept that we are not going to get everything exactly right all the time. Learning from mistakes and setting one’s own standards require real self-criticism and should in the end be a source of pride not misery.
I have come to see this journey as having two aspects: one is the practical day-to-day construction job, the other is the internal path of self-discovery, of searching deep and constantly challenging myself, finding reserves of determination and even courage. If you think that sounds too overblown and philosophical, just try being at the lowest point – described to me by one person as being unable even to get out of the car to go and work on the boat, because the prospect of it felt like a crushing weight… I will always remember seeing a project where the builder was fiddling with something as inessential as an electrics panel while the major structure of the boat was rotting away in his garden with damp and neglect.
It is hardly surprising that homebuilding takes it out of you. There are so many decisions to make, huge risks in laying out so much money and relying on one’s own practical resources to translate that into a boat, and of course the need to keep that dream alive. It is certainly one of the toughest things I have ever undertaken.
Books:
Boat Data Book by Ian Nicolson
Practical Yacht Joinery by Fred P. Bingham
Boat Interior construction by Michael Naujok
All available from nautical bookshops.


