Well, I didn’t manage to get the boat painted before the cold weather. I had hoped to be applying the Awlgrip during September, which at least gave us some warm and dry days, but events conspired to delay me once more. So the topcoats will have to wait until it warms up again next year, probably April or May.
I had to take over a week off building to represent the Exe Estuary Users’ Association at the public inquiry into a proposed new harbour authority. It was my job to wave the flag for reasonable harbour dues and appropriate management. I reasoned that this is just as essential as constructing the boat, because I need to be sure I can still afford the mooring to put her on! I have spent 2 years working with a colleague to promote a sensible solution – another little project that has overrun rather drastically.
I am not too disappointed about delaying the painting. At least the hi-build primer will be on before the end of this year, and with the Awlgrip costing over £2000 it makes sense to be sure of good conditions for application. Temperatures need to be consistently above 13 degrees C, and this is now only reached for a few hours of the day. Besides, painting is really the final bit of work, and there is still plenty to be done…
Rubbing down the hulls
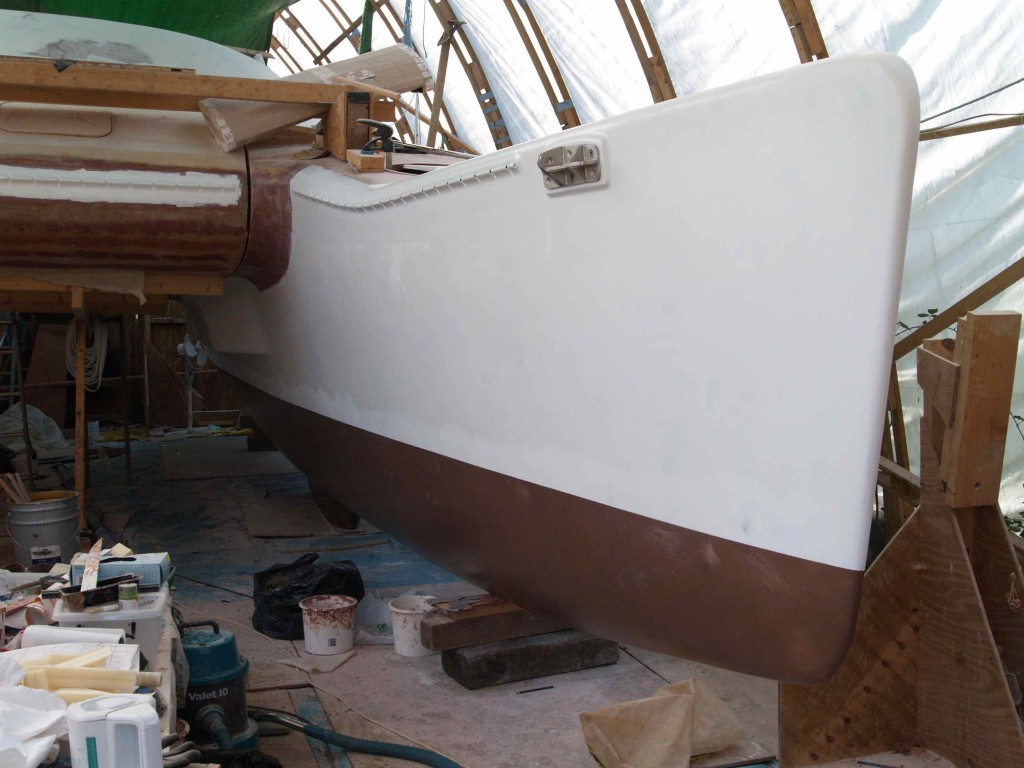
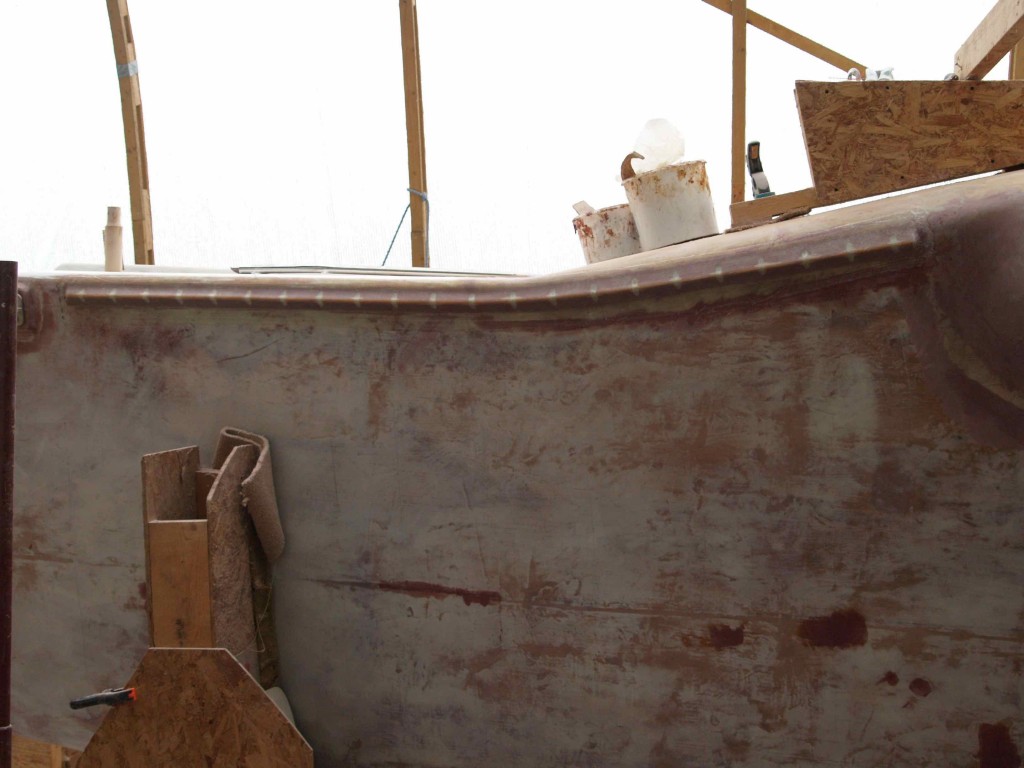
But to get as far as coating the hulls with hi-build and applying Coppercoat antifouling feels like an achievement. We first had to rub the epoxy down as thoroughly as possible. To do this I drew vertical pencil lines at roughly 300mm spacing on the hull, then sanded each section. As a final touch I used a bright lamp to show up any shiny patches. We used longboards, power sanders and hand sanding so we got to every part. Experience with rubbing down the hi-build between coats taught me to apply 2 coats in a single day, then leave it several days before rubbing back using an orbital sander. I have a lovely Elu model that damps the vibration and does not leave my hands quivering. 80 grit seems about the right coarseness. Since applying the paint to mast and beam I have learnt that too fine a grit can actually encourage runs by not providing enough grip for the paint. 240 grit between finish coats is apparently quite fine enough, and 80 to 120 plenty for the primers. As the hull surfaces are overhanging, this sounds like good advice from someone much more experienced than me.
Applying Coppercoat
Coppercoat is a water-based epoxy designed for straightforward application. It is applied over rubbed-down hi-build. It comes conveniently packed in one-litre units with a bag of copper. Mixing these together is done in a clean bucket, then the mixture is thinned with isopropanol to allow for easy rolling. I didn’t add enough thinner to start with, so the first coat went on a bit thickly and some small patches had not dried by the time I came to apply the second coat, after about an hour. Unfortunately this then lifts off the still-wet first coat and makes for some frustrating moments! It was eventually solved with a fan and blower heater to help circulate the air. Low down by the keel seemed to be where it was most needed. All the coats have to be applied on the same day to ensure a chemical bond.
Coppercoat needs several warm days to harden off, so it is not the sort of thing to be done at the last minute. Being inert it does not matter if it is applied months ahead of immersion. Runs can be sanded back gently, and it will eventually appear greenish black in the water. Cost for the boat: about £700 in total. As this equates to only about 10 cans of antifouling, never mind the annual costs of hauling and scrubbing, it seems good value to me. Reports suggest far longer than the 10 years protection advertised. With a multihull beaching the boat is no problem for a quick wipe down to remove slime from time to time.
Netting attachments
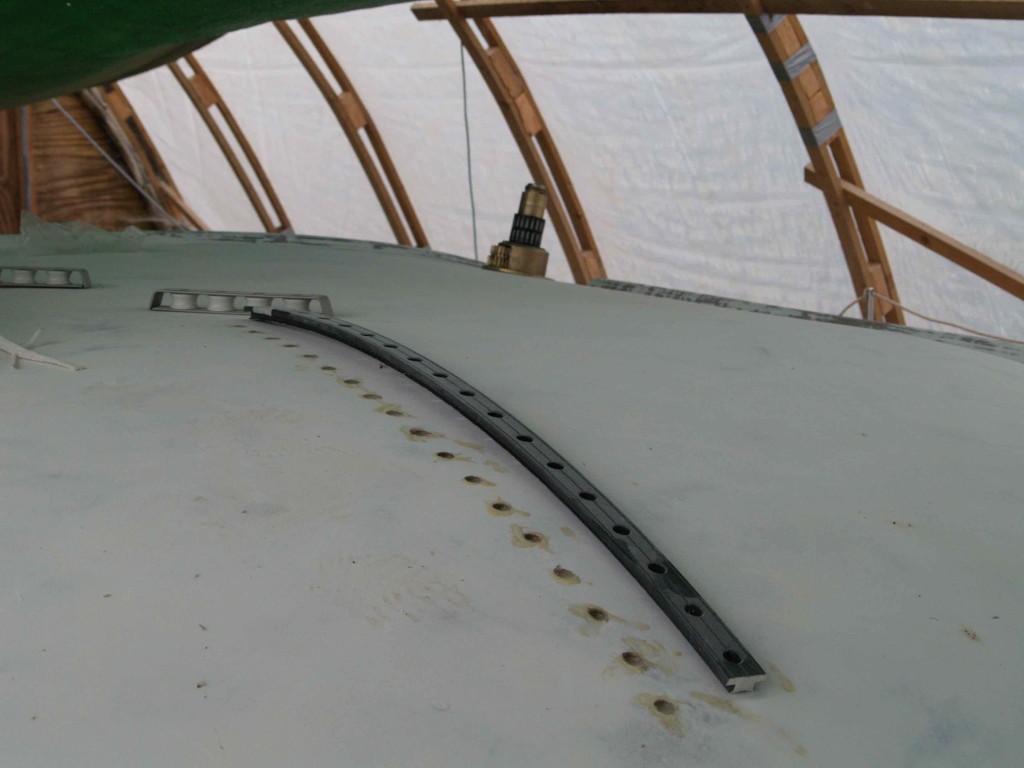
Getting ready for priming the boat forces me to apply some thought to areas that I had previously neglected. How to attach the nets was one such problem that I had ignored for too long. There is a useful American website, www.multihullnets.com, with a lot of information. Enquiries revealed that suitable boltrope extrusions are available (Holt/YS), but they cost £66 a metre! The perimeter measurement for the netting on my boat is over 12 metres, so this did not look like being particularly cost-effective. It also required fastenings to pierce the hull. There was nothing for it but to make my own.
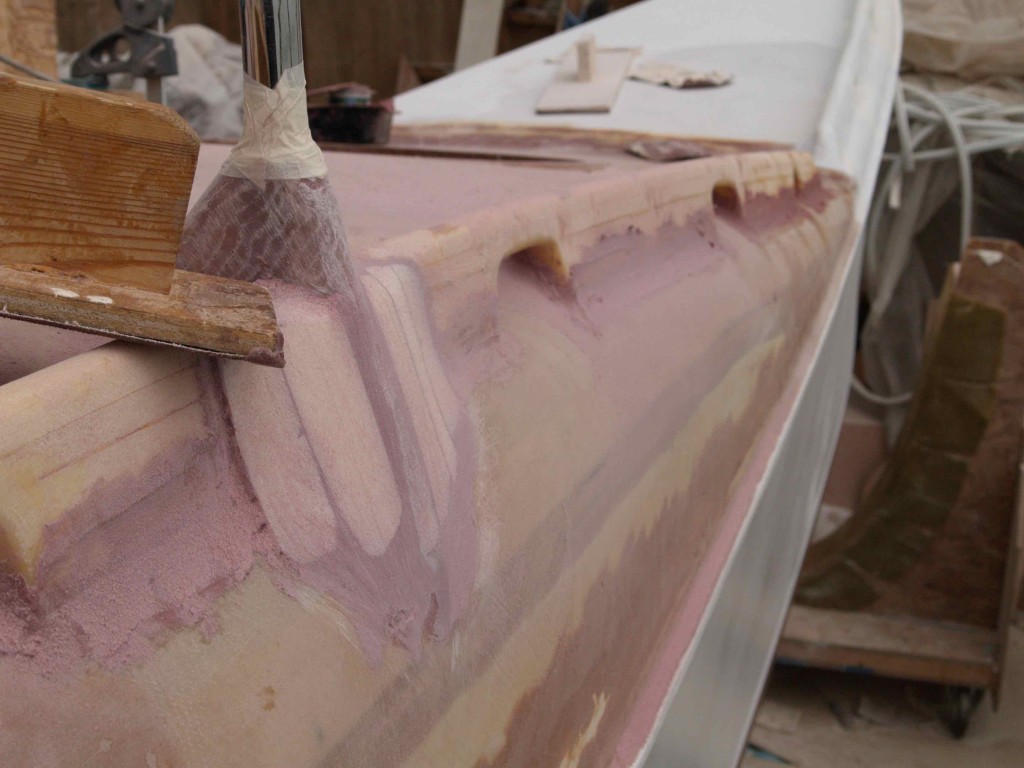
The bespoke fittings I have seen employ a stainless rod inside a plastic tube with scalloped cut-outs at regular intervals so rope can be slipped through the resulting hole – the pictures explain it best! The necessary 6mm rod cost me £30 in total, and some semi-rigid plastic tubing (I think it was used for pumping beer in pubs) had been kicking around the workshop for years just waiting for a job like this. I believe the sort of tubing that goes into underfloor heating systems is also good.
I laid up some glass on the table, then cut the outlines for the sections. The tubes were glued onto these on top of some 6mm scrap ply blocks – to give enough depth for the rope to pass behind the rod – then faired with bog. A further complication was offered by the curved sections where the trampoline follows the hull profile. I used copper wires tightened through the workbench to hold the rod and tube firmly in place while the initial application of bog set. The curve makes it harder but not impossible to get the rods back in after painting.
Cutting and filing the ‘scallops’ at 100mm intervals was easy but tedious work. I used a hacksaw first then a round file and took the hole right down to the glass base. When this is finished the entire piece, with rods re-inserted, is glassed onto the boat. I suppose it might be possible to construct them directly on the boat, but it would be fiddly work at uncomfortable angles, so the bench method is my preference.
Once attached to the boat it only remains to glass the sections in place with layers of biaxial, then sand before painting. For this the rods are removed. Once the sections are painted the rods will be permanently inserted, as I cannot think of any occasion when they would need to come out again, and other fittings will prevent them from being able to slide out anyway. The painting will be a fiddly operation, and I hope to be able to do these small areas soon if the weather holds, and mask off the rest of the hulls, so the rods can be inserted and construction can continue.
One of the bits of structure that will obstruct the rods is the front walkway, my name for the fore-and-aft platform that divides the trampoline and bridges between the front beam and the main beam. The anchor locker will be at the aft end of this, and it must have a channel for chain to be dragged forward and over the beam, but apart from these requirements and a vague sketch I have not yet fixed its design at all.
Ladders or ramps
I have spent many hours fretting over how we will get access onto the boat from a dinghy in the water. There are several possible solutions. Steps in the transom are the usual catamaran answer, but on this boat they could be obstructed by the tiller arms and kick-up cassettes, so are not ideal. Another suggestion was for little footholds to be cut in the hull sides to enable one to climb aboard. This might work OK and has the advantage of being permanently available, but there is still the matter of having to climb up a vertical cliff, so perhaps a temporary ladder might be best. I have allowed for a gap in the guardrails to make this possible.
Then, while thinking about how to construct the front walkway, I remembered a clever ramp on a Wharram cat design that formed part of the walkway but dropped down to provide a sloping stairway. This seems like a real possibility for a neat solution for coming aboard from a dinghy, especially when loaded with stores and kit. Underneath the trampoline is reasonably protected, it is easy to get a handhold, and the gradient would be less than 45 degrees. I am currently working on the design details – securing it in the raised position, hinge options, dimensions and construction etc – but it looks like it will work. Access from the side of the boat is still necessary for pontoons etc, but it can be secondary and therefore by way of a folding ladder.
I am nervous about leaving design issues unresolved until so late in the process. If all details are not considered, something might get in the way of essential hardware, lines might have to be routed awkwardly, or sail routines adapted. Hopefully this will not be a problem here, but the coachroof is a different matter. Getting the hardware and lines sorted neatly takes priority over hatch positioning or windows. I am reasonably confident that most of it will fit OK, but there is always the nagging doubt that I might have overlooked some vital function. I cannot blame the designer for this – having done so many radical adaptations I have to rethink the hardware layout from scratch.
As the weather becomes steadily colder and damper, I am retreating slowly into the workshop to construct the engine pods, and into the boat’s interior to fit out the saloon and galley. Both these areas can be heated economically so the cold should not be too much of an issue. Sometimes the hardest bit is pumping the epoxy out of the barrel!
Coppercoat is distributed by Aquarius Marine Coatings, www.coppercoat.com 01202 888802


