In the last issue I explored some of the ways in which I continue to be motivated during this long period of construction. It has been exactly two years since I started and there is probably another year to go, considerably longer than originally anticipated. I have largely managed to avoid the subject of money, but this seems a good moment to discuss it, if only because the project has just about reached the point of maximum divergence between the outlay for materials and the actual value of what I have created.
It is a sad fact that a half-built boat is worth less than the materials that went into it, never mind the endless hours of labour. A project that founders at this nadir breaks the heart and the bank. In my case I have spent about £15,000 on labour as well, so there is a lot at stake. Currently I estimate the project to have cost about £45,000 and we are nowhere near finished! I would be lucky to get £10k for the part-finished boat. Of course the difference does not take into account the winches, deck hardware, cooker, fridge, heads and mast fittings already purchased. I have bought many of the fittings gradually over several years, when it was possible to take advantage of discounts, but also just to spread the spending and make it easier to bear. So although the project has reached a point where it seems incredibly expensive for what it is, the contents of my loft have been steadily increasing in value!
The good news is that the worst of the spending is nearly over, the bad news is that there are certain essential items still to come that it would be foolish to economise on, namely the engines and the mainsail, the very things that make the boat go! It is ironic that some of the most important money decisions come at a time when one is already reeling from the cost of the whole thing. Perhaps the single area where economies can be made without affecting the boat’s performance at all is electronic instrumentation, never mind how ‘essential’ the manufacturers would have us believe their magic gizmos are. I can probably just about make do for a bit without that lovely large-screen display and the onboard computer! A handheld GPS and paper chartplotting will do just fine, and it’ll be down the car breakers for some speakers and a second-hand car stereo.
Has it got out of hand? Not really. I made a decision to employ someone to help work on the boat, and that has been a good move. I have written elsewhere about the benefits of having someone to share the ups and downs of the project with. It has certainly made me more productive, even if the cost has mushroomed from an initial budget of £9,000 to over £15,000 – and it is still rising. I expect it to be around £20,000 by the time I have finished. The increase reflects my naïve optimism about the length of time it would take to build the boat (I believed the designer and a builder who took only 12 months over his unmodified boat).
Epoxy costs have reached £7200, which reflects 800kg of SP 106 and some Ampreg 22. Wood and core materials have come in at about £8,000, about half of which is foam and balsa. Ply itself is relatively inexpensive in the scheme of things, indicating that it was a good move to opt for marine ply for the hull skins, rather than cheaper WBP which is always of variable quality.
The total budget now comes in at £60,000, almost double the original £35k. For a boat that would cost £150,000 from a boatyard it might seem cheap, but it is still much more than I bargained for. The value of my own labour is reflected in the savings made, but that will represent 3 years of work. All this bears out the adage that multihulls are not cheap craft to build, and that home-building does not necessarily bring great savings. Fortunately I was aware of the risk of costs escalating and have made sure that there were enough savings to cover it.
There is one big inescapable dilemma for anyone building their own boat. It is of course the time/money equation. It does not make sense, in my opinion, to try to construct something as time-consuming and demanding as a boat during evenings and weekends. The whole project would become so long drawn-out that it would be surprising if anyone could keep up their enthusiasm let alone finish the project. But if you build full-time you still need an income to survive on during the building period. Here I must pay tribute to the patience and support of my hard-working wife Alison, without whom it truly would not be happening.
Breakdown of costs so far:
| Ply and wood | £4,300 |
| Glass and carbon | £3,000 |
| Epoxy | £7,200 |
| Fillers, peel ply, sundries, carriage | £3,600 |
| Balsa, foam | £3,700 |
| Fittings and hardware | £4,600 |
| Interior, electronics | £870 |
| Overheads and labour | £18,000 |
| Total so far: | £45,270 |
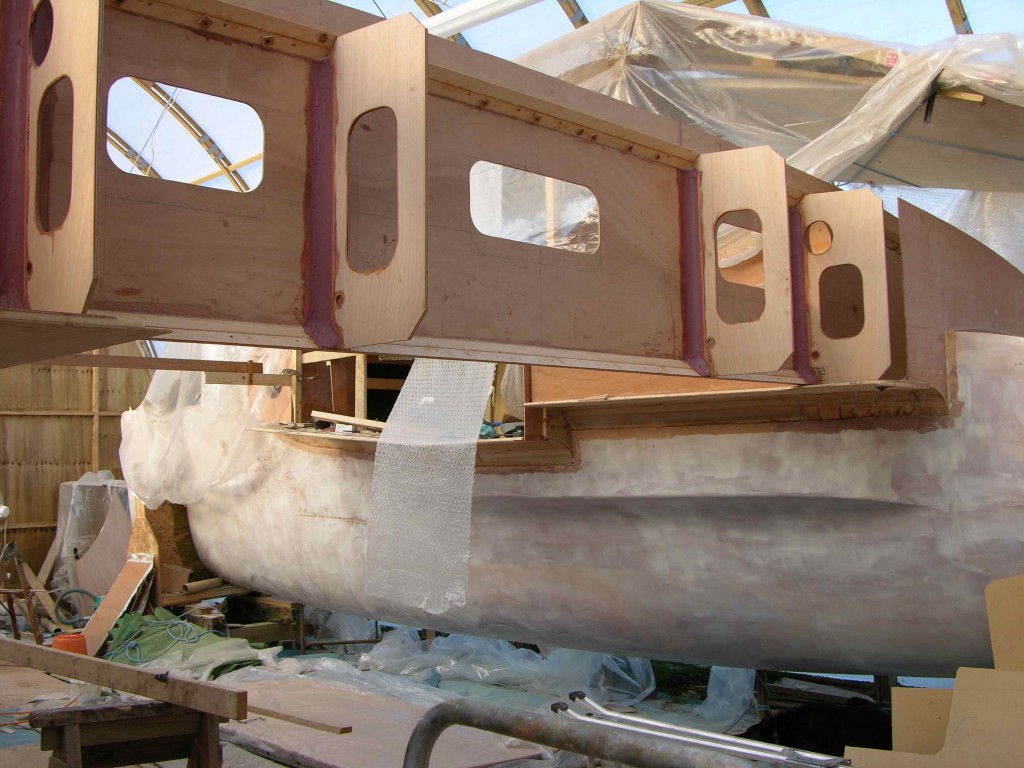
Returning (with some relief!) to the much more interesting matter of progress in construction, the major connective sections of the boat are now in place. The main beam, which supports the mast step and carries the greatest loads of the entire boat, is constructed like a spruce and ply girder frame. It must be strong and only the best wood will do here, so we were surprised that some of the spruce had bad thunder shakes in it. These can be caused by bad felling where a trunk falls across another and are recognisable as lines across the grain, but they only show up after planing. Robbins were very good about refunding money when they saw a photo of it.
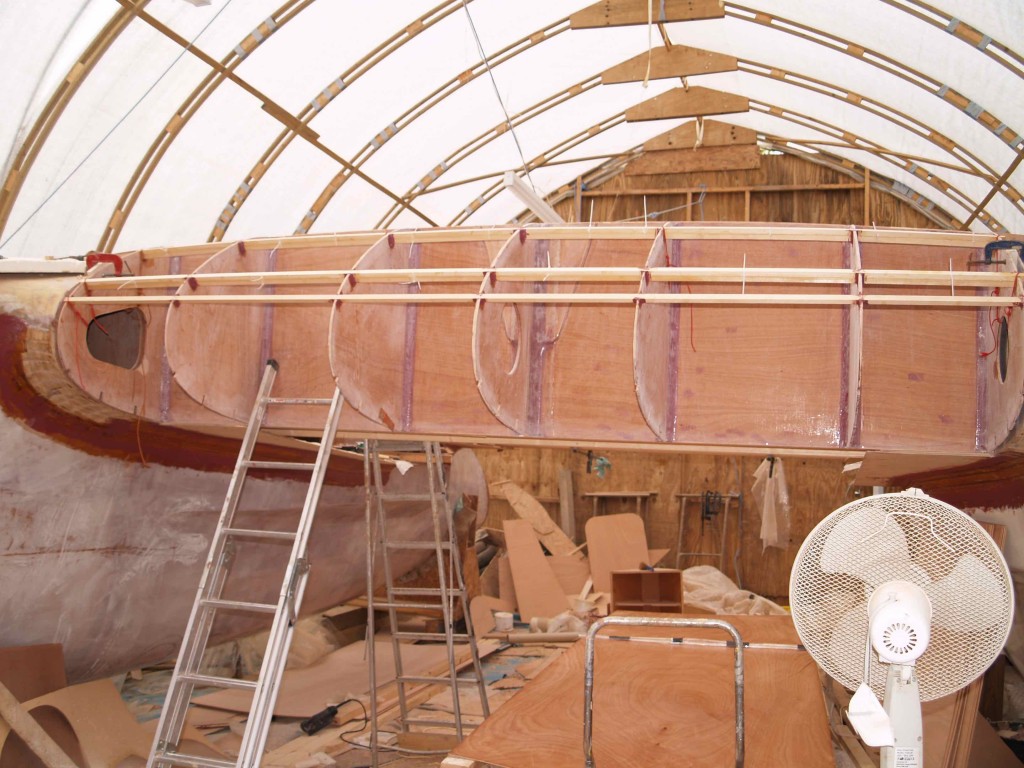
The wood was laminated together for extra strength and the beam sheathed with 6mm ply back and front. It slotted neatly down into its location, where we have bolted it in position for now. After transporting to the water’s edge for final fitting it will be liberally glued with epoxy.
The beam gains rigidity from the ‘D’-shaped front fairing and internal boxing in behind. We position the bulkheads and stringers and cover with 3 layers of compounded 3mm ply. The outer bulkheads are given 20mm distance from the mating surface on the hulls, a space that will eventually be filled with Corecell before glassing. It ensures that we can lift out the beam and wiggle it if necessary! The underside is a simple curve and the nose of the fairing is completed with cedar strip. The importance of attention to detail comes up so many times: here it is necessary to make limber holes in the stringers so water cannot collect above them and rot out the lockers.
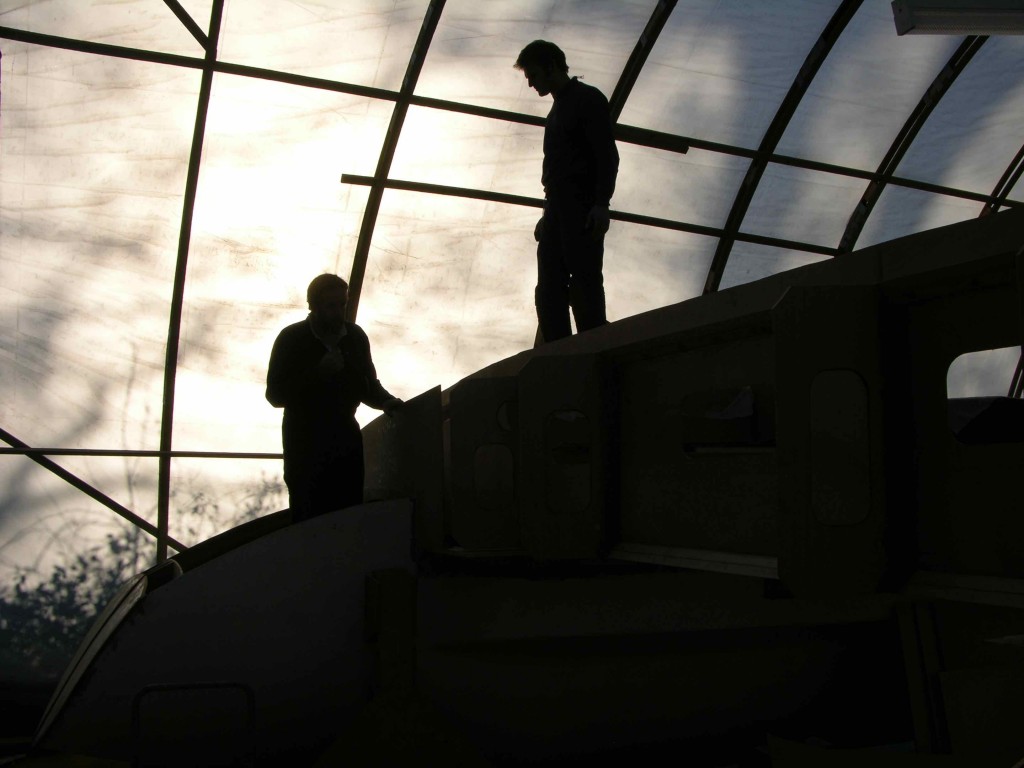
The aft box beam was easier to work on off the boat than in mid-air, so we have constructed a makeshift gantry from an old mast and a scaff tower. It was very satisfying lifting it up with block and tackle to swing it gently round and down onto the trestles. For now it has been bolted in place unsheathed while we work on the cabinroof, with the intention of returning to it when all the major components have been fabricated.
We have opted to make the cabinroof on a temporary mould in-situ, so that the base of it fits the shape of the deck accurately. It also gives me an opportunity to verify that the design looks good. This is definitely eyeball boatbuilding – we have left the original plans way behind by now. So every detail needs to be carefully considered if we are not to make a silly mistake. I really don’t want to end up with a boat that looks like a Nissan hut astride two canoes! The mould allows us to look at placing and height of winches, lead angles for halyards and reef lines and positions of jib tracks. Raising the height of the cabin roof means compromises in the sheet lead positions and some alterations in the shape of the sails, so I have been working on the new shapes and their consequences for the Centre of Effort/Centre of Lateral Resistance balance. Good guidance on this is given by Derek Harvey and Ian Nicolson in their respective books.
Now we have the look of the cabin, we consider the way it can be constructed. It will be balsa core with glass skins. But two of us can hardly hope to sheathe an area 5m x 2.5m. We just don’t have arms long enough! The logical conclusion is to break down the cabinroof into sections. We further simplify a complex compound shape by making the window areas into simple conical sections and restricting the three-dimensional curvature to a small ‘cap’ and a raised section for standing headroom. If all goes well the different surfaces will flow smoothly into each other without showing the join. Compound curves are what make a boat look sleek, so we want to keep them but minimise their extent. As I write we have yet to start on the main roof sections but have completed the raised entrance section on a small wire-and-plaster mould. It looks very fair and pretty. The end-grain balsa compounded nicely and sanded easily with 36-grit boards.
The floors for the cockpit and cabin have been vacuum-bagged using 4mm ply and 12mm foam. The cockpit one is slightly curved up in the centre to shed water. We have sheathed these with glass cloth, not strictly necessary inside, but good for areas subject to a lot of wear and essential for exterior surfaces. They will fit onto the flanges on the hull sides, but cannot carry any load until they are glued, so we have to be very careful just now.
I was hoping to have started the mast construction, but the schedule has (inevitably) slipped again. It looks like the mast will have to wait, if only because some of the carbon uni tape I ordered in February has still not arrived…
Reference:
Derek Harvey, Multihulls for Cruising and Racing and Sails and how to make them.
Ian Nicolson, Understanding Yacht Design


